
Last updated: January 6, 2026
I was seven years old in 1999 when my father brought home a high-end 5.1 speaker system and a Lost in Space DVD. Since then, my dream of building a custom home theater has grown from a subwoofer in my college dorm room to a dedicated space in our single-family home in southern Delaware.
This is what it was like to convert our garage into a home theater, from design to completion. I'll precisely detail the costs of the project, the equipment I chose for the room, my ideas for future improvements, and the things I'd do differently next time.
This project took 11 months from making the first sketches to sitting in a usable space. The conversion and new equipment cost $65,657.38, including several changes that improved the whole house.
The best way you can show me that this resource is useful is by clicking my "Buy it on Amazon" Amazon Affiliate links to all of the equipment. I earn a commission if you buy something after clicking a link, and nothing changes for you.


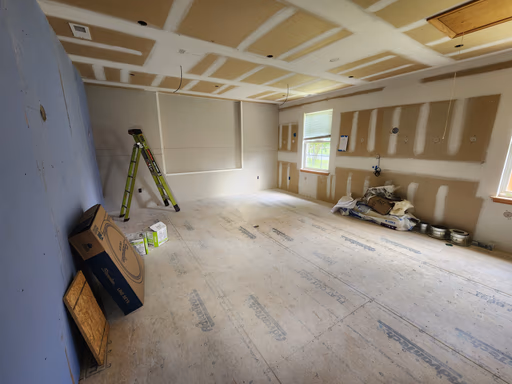


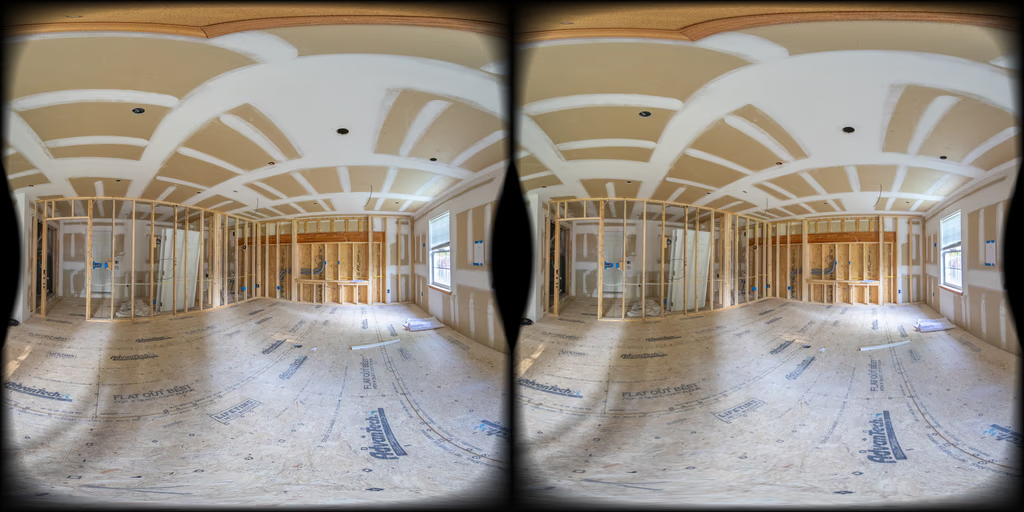
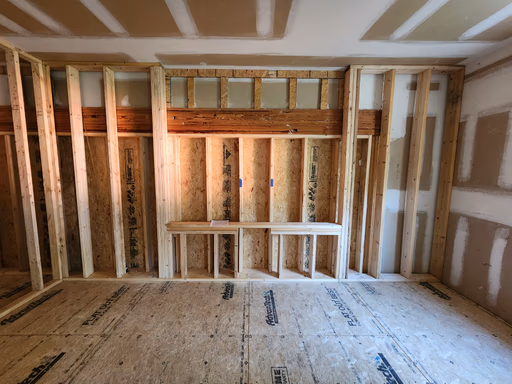
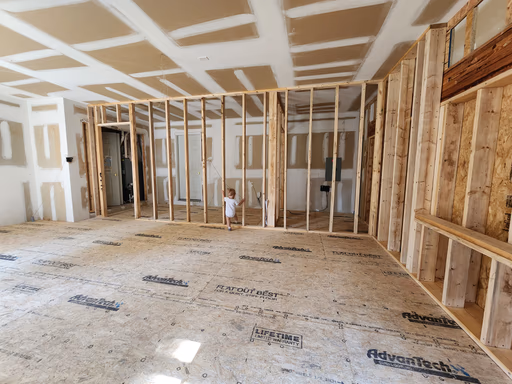
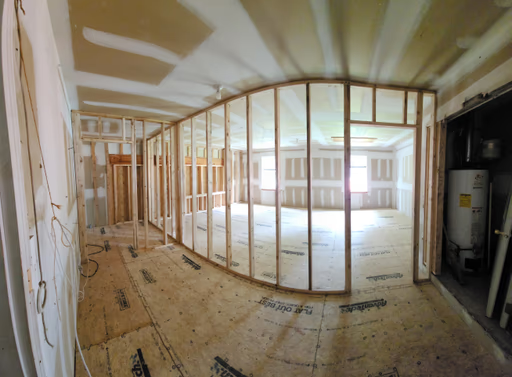
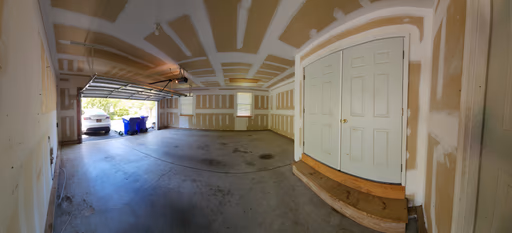
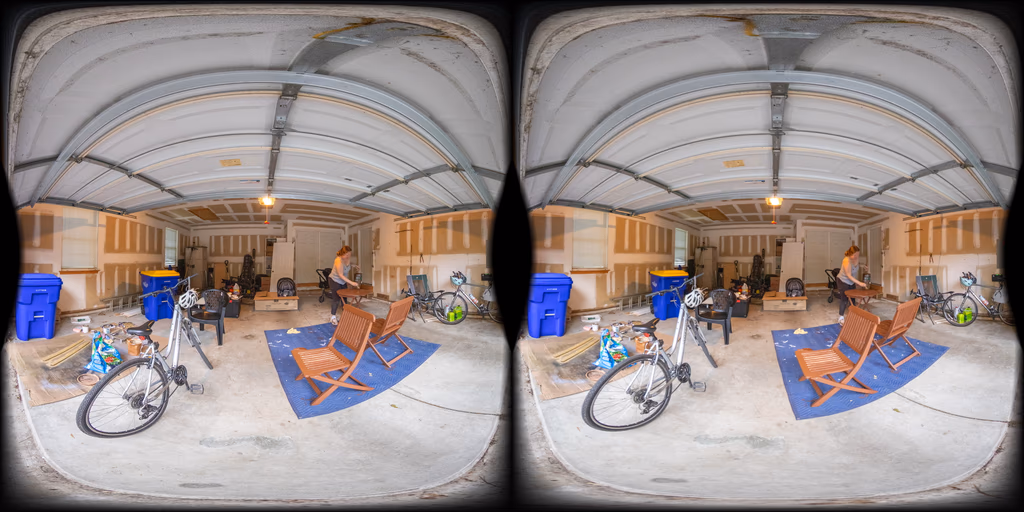
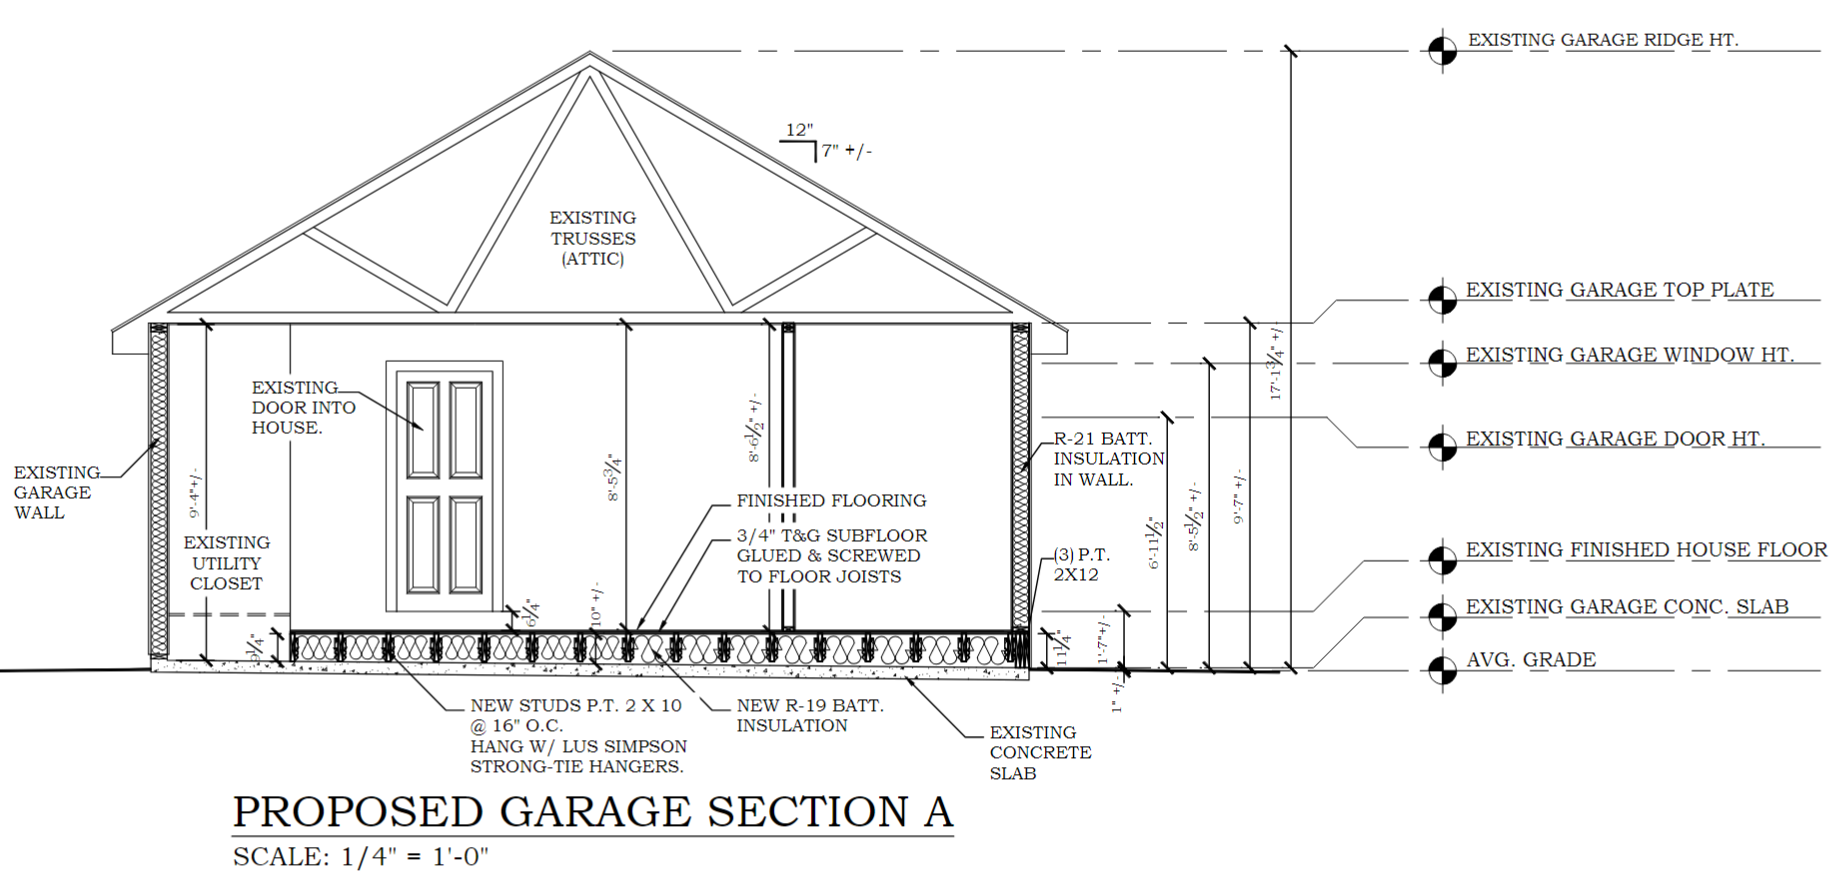
In July 2024, we purchased a home in southern Delaware and planned to move from NYC within a few months. Our new home offered 2,000 square feet of living space and an attached garage. Converting the garage into livable space would give us an extra ~520 square feet for a media room. Storing our car outside and our tools in a shed sounded reasonable, so we "just" needed to figure out how to do the work.
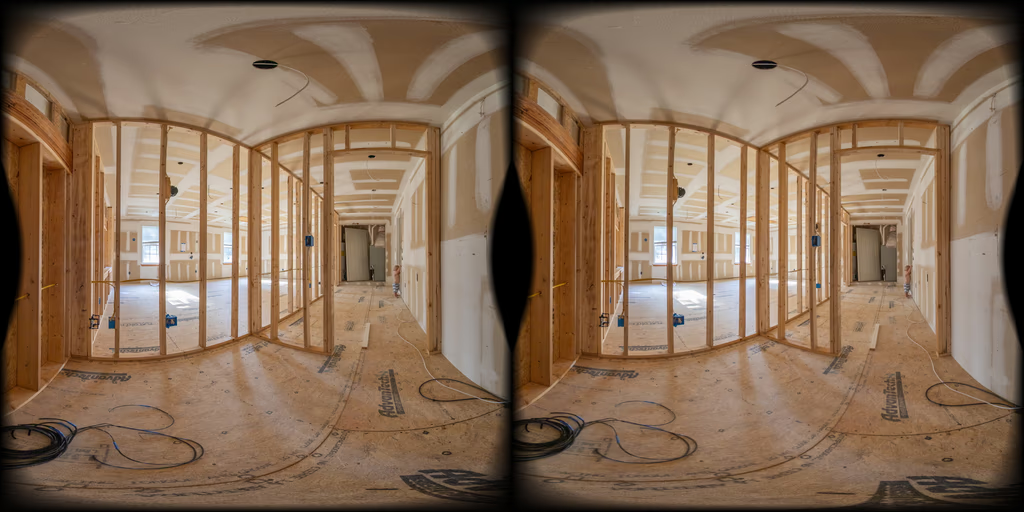
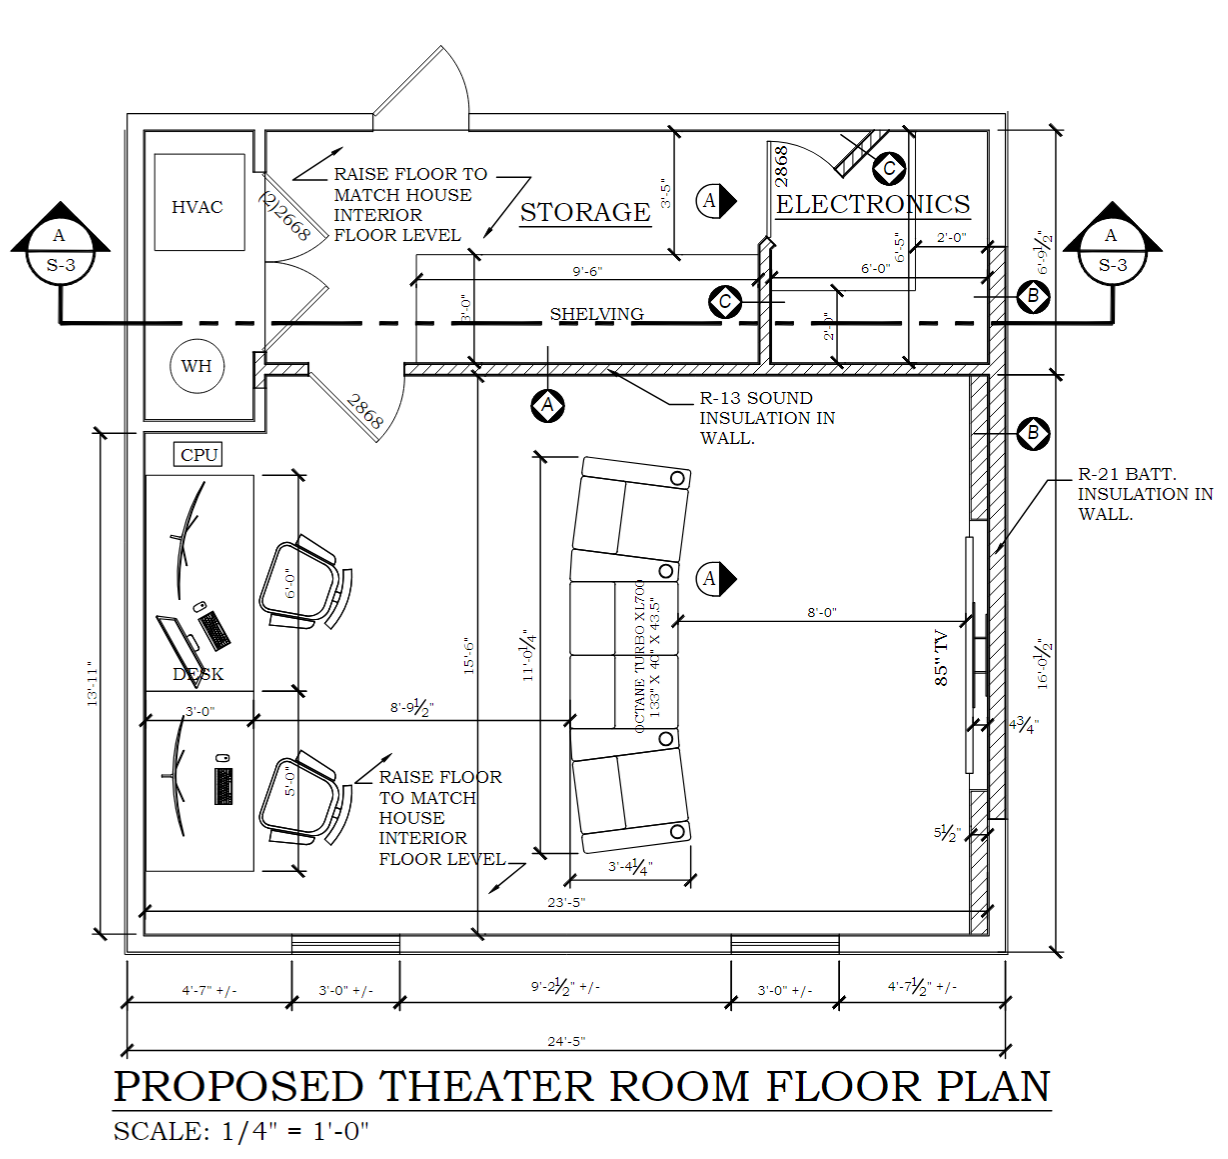
In October 2024, after measuring our garage, I made several sketches of what I might want the final space to look like. I had never done any construction on this scale before, so there were a ton of practical questions I couldn't answer in domains like HVAC, insulation, wiring, and lighting. Still, I sketched this:

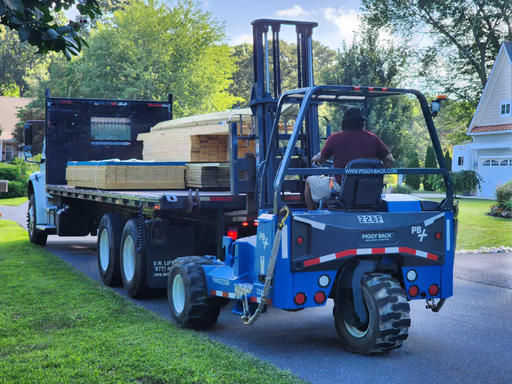
Over many years, I had developed preferences that I could reasonably communicate to designers and contractors. Those known knowns included TV height, viewing distance, and speaker placement. The known unknowns included questions like Is it even feasible to remove a garage door and replace it with a wall?, How will I cool the equipment closet?, and What kind of lighting should I put in this space?. The unknown unknowns loomed over my head. I needed to maintain confidence that I could step in and be flexible as opportunities for last-minute improvements presented themselves.
I had no idea how much work this project would take. The next right step was to hire an architect to develop plans I could show to a contractor.
On January 18, 2024, I reached out to three Delaware-based architecture firms and one company that specialized in home theater installations. The theater install company said they didn't do planning or construction, only installation. Two of the three architecture firms never returned my messages.
The third firm was able to help, but couldn't start work for another five months. They referred me to SLC Designs, an individual designer who would be able to start work immediately.
Shawn and I worked back and forth for 50 days, after which she produced architectural drawings to show contractors and send to the county for permitting. During construction, I made some modifications to this plan, such as squaring off the entrance to the equipment closet. The final design took a similar shape to the plans.
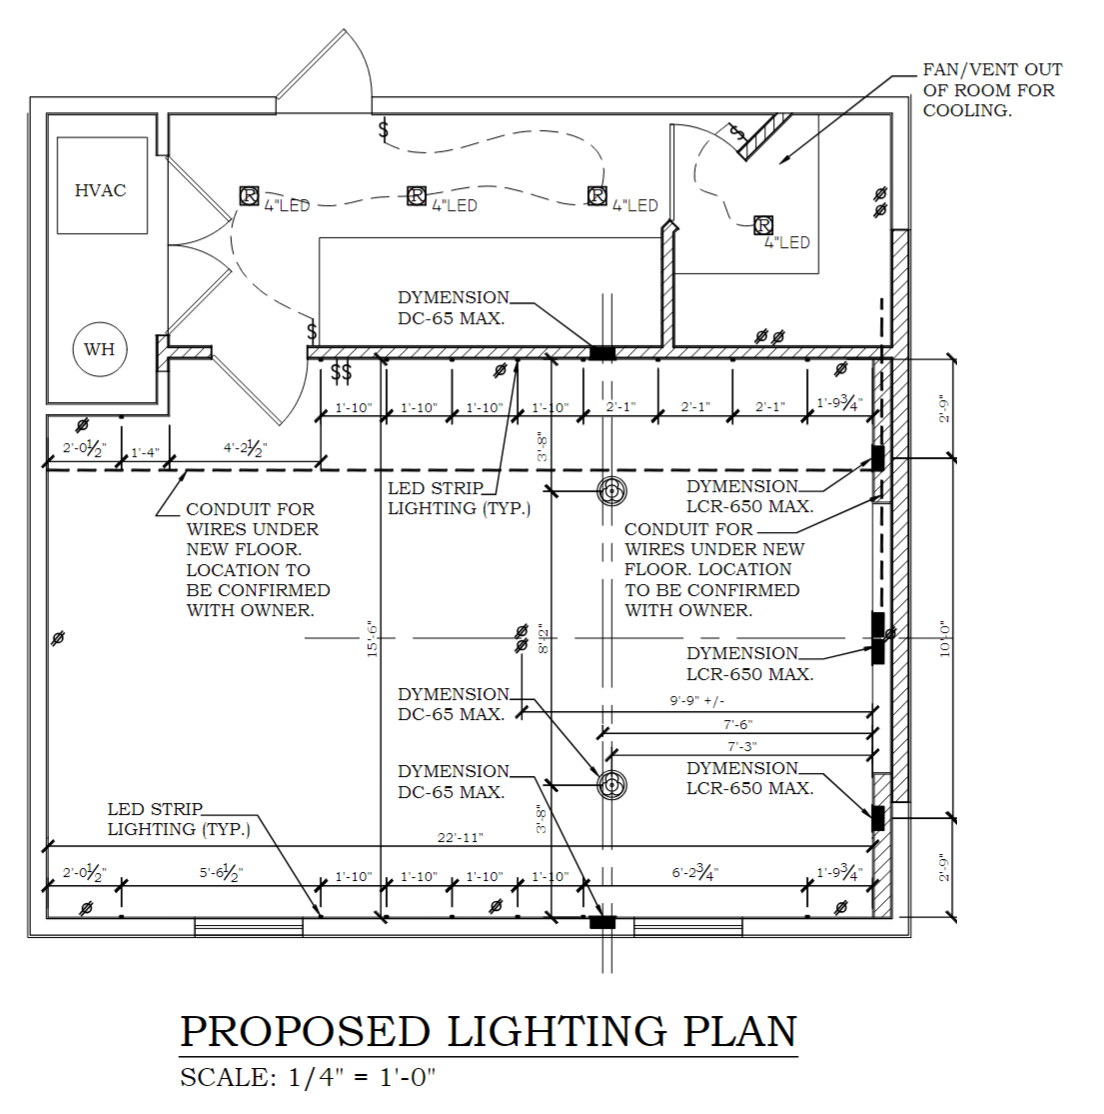
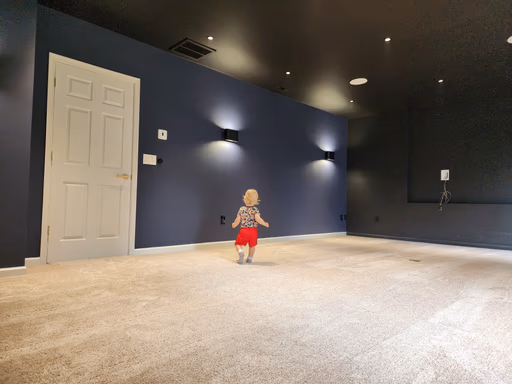
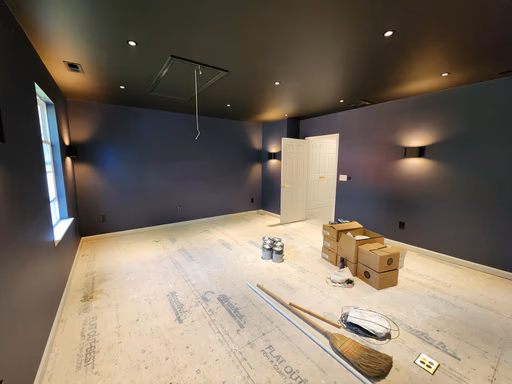
Initially, I wanted to light the theater with floor-to-ceiling strips of diffused LEDs. After researching specific products I'd use for that style of lighting, I decided to reduce the project's complexity. I changed the plan and opted for two primary layers of light: six bright wall sconces as primary lights and twelve overhead task lights.
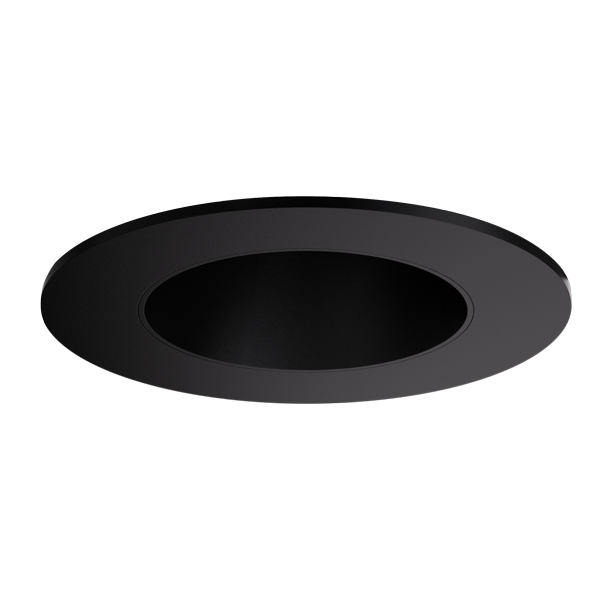
My research into lighting took me deep past several consecutive midnights. This post on Reddit showed me the beauty of dim-to-warm lights and introduced me to the Koto brand. The Koto ELK11HC LED modules I selected dim from a cool 4000K at 100% luminance to a warm 2200K at 10%.
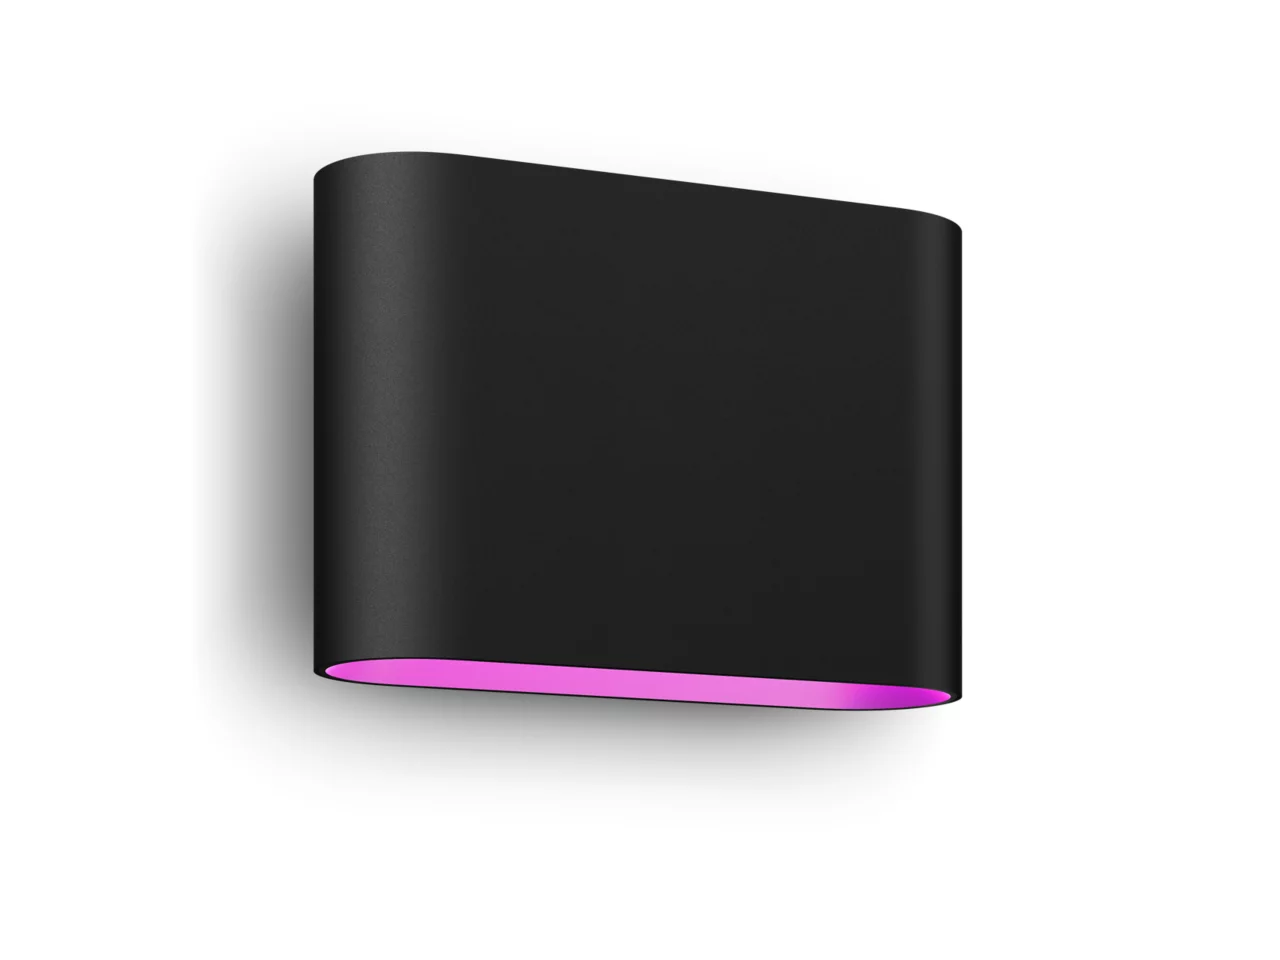
I like Philips Hue lights for their quality and customization, and Hue offers a large selection of wall lights. I chose the Philips Hue Dymera Wall Sconce because of its high 1020 lumen brightness and ability to control the color of the up and down lights independently. I'm generally allergic to "smart" systems, but I've previously found the Hue system to be reliable enough, and wanted to be able to remotely control the lights from the theater seats. The Hue Bright Days 35% off sale brought the price down to something reasonable.
To validate my new lighting plan, I took my ideas to a lighting designer at Denney Electric. Bethany and Daylin helped me make sure that the new lighting plan would fill the room with enough light. Then, Daylin helped me custom-order the Koto equipment from the manufacturer for a reasonable price. He also helped me choose modules for the overhead lights in the hallway and equipment closet. Finally, he ordered the wall accessories associated with lighting, such as dimmer switches and wall plates. I was very pleased with Denney's service.
The Elco Koto LED modules and trims took an astonishing 66 days to arrive from the factory, so I was happy to have ordered those parts early.
| Item | Total Cost | Comments | |
|---|---|---|---|
 | $900 |
| |
 | $240 |
| |
 | $240 |
| |
 | $857.96 Amazon |
| |
 | $60 Amazon |
| |
Elco Freight Charge | $30.00 | ||
| Total | $2,327.96 | ||

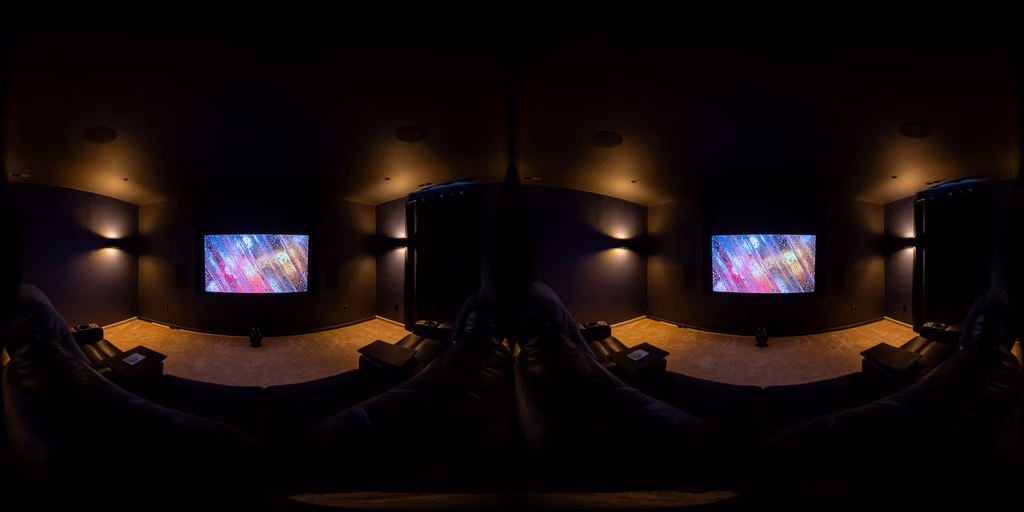
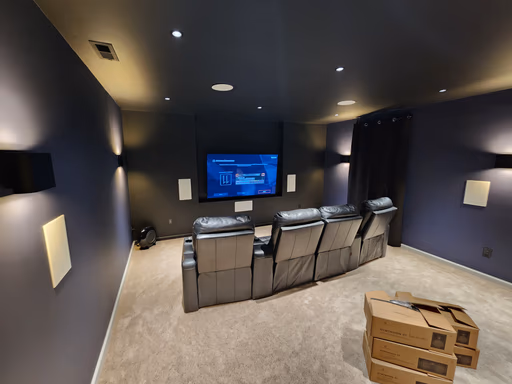
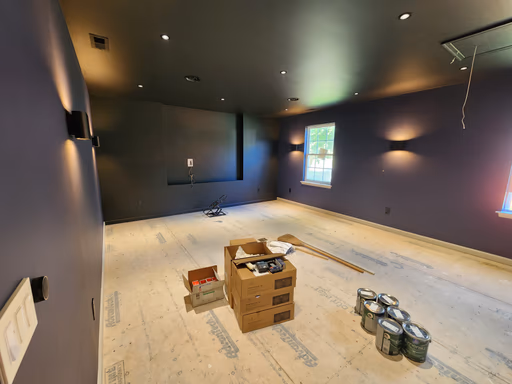
The display wall and ceiling are painted in Sherwin-Williams Tricorn Black with a Matte finish. This color seems to be a widely praised theater paint color, and for good reason. Its low Light Reflectivity Value (LRV) of 3 means it absorbs tons of light, which makes the edges of our OLED TV disappear into the wall.
The navy-black Charcoal Blue paint for the rest of the walls complements our tan and brown rug nicely, and is a generally calming color. Unfortunately, the matte finish scuffs quite easily, which means keeping away from the walls most of the time.
Origami White, with its warm undertones, pairs nicely with the rug and the Biscuit-colored wall switches. This color also happens to be the majority color in the rest of our living space.
I used several light coats of matte black spraypaint to hide the in-wall speaker grilles.
| Item | Total Cost | Comments | |
|---|---|---|---|
 | Owned |
| |
 | Owned |
| |
 | Owned |
| |
| Owned |
| |
 | $6.98 Home Depot |
| |
I already had the TV and subwoofer for the theater, so I needed new speakers. I decided on a 5.1.2 audio system made up of left, right, center, side left, side right, height left, and height right speakers, with a dedicated subwoofer handling low frequencies.
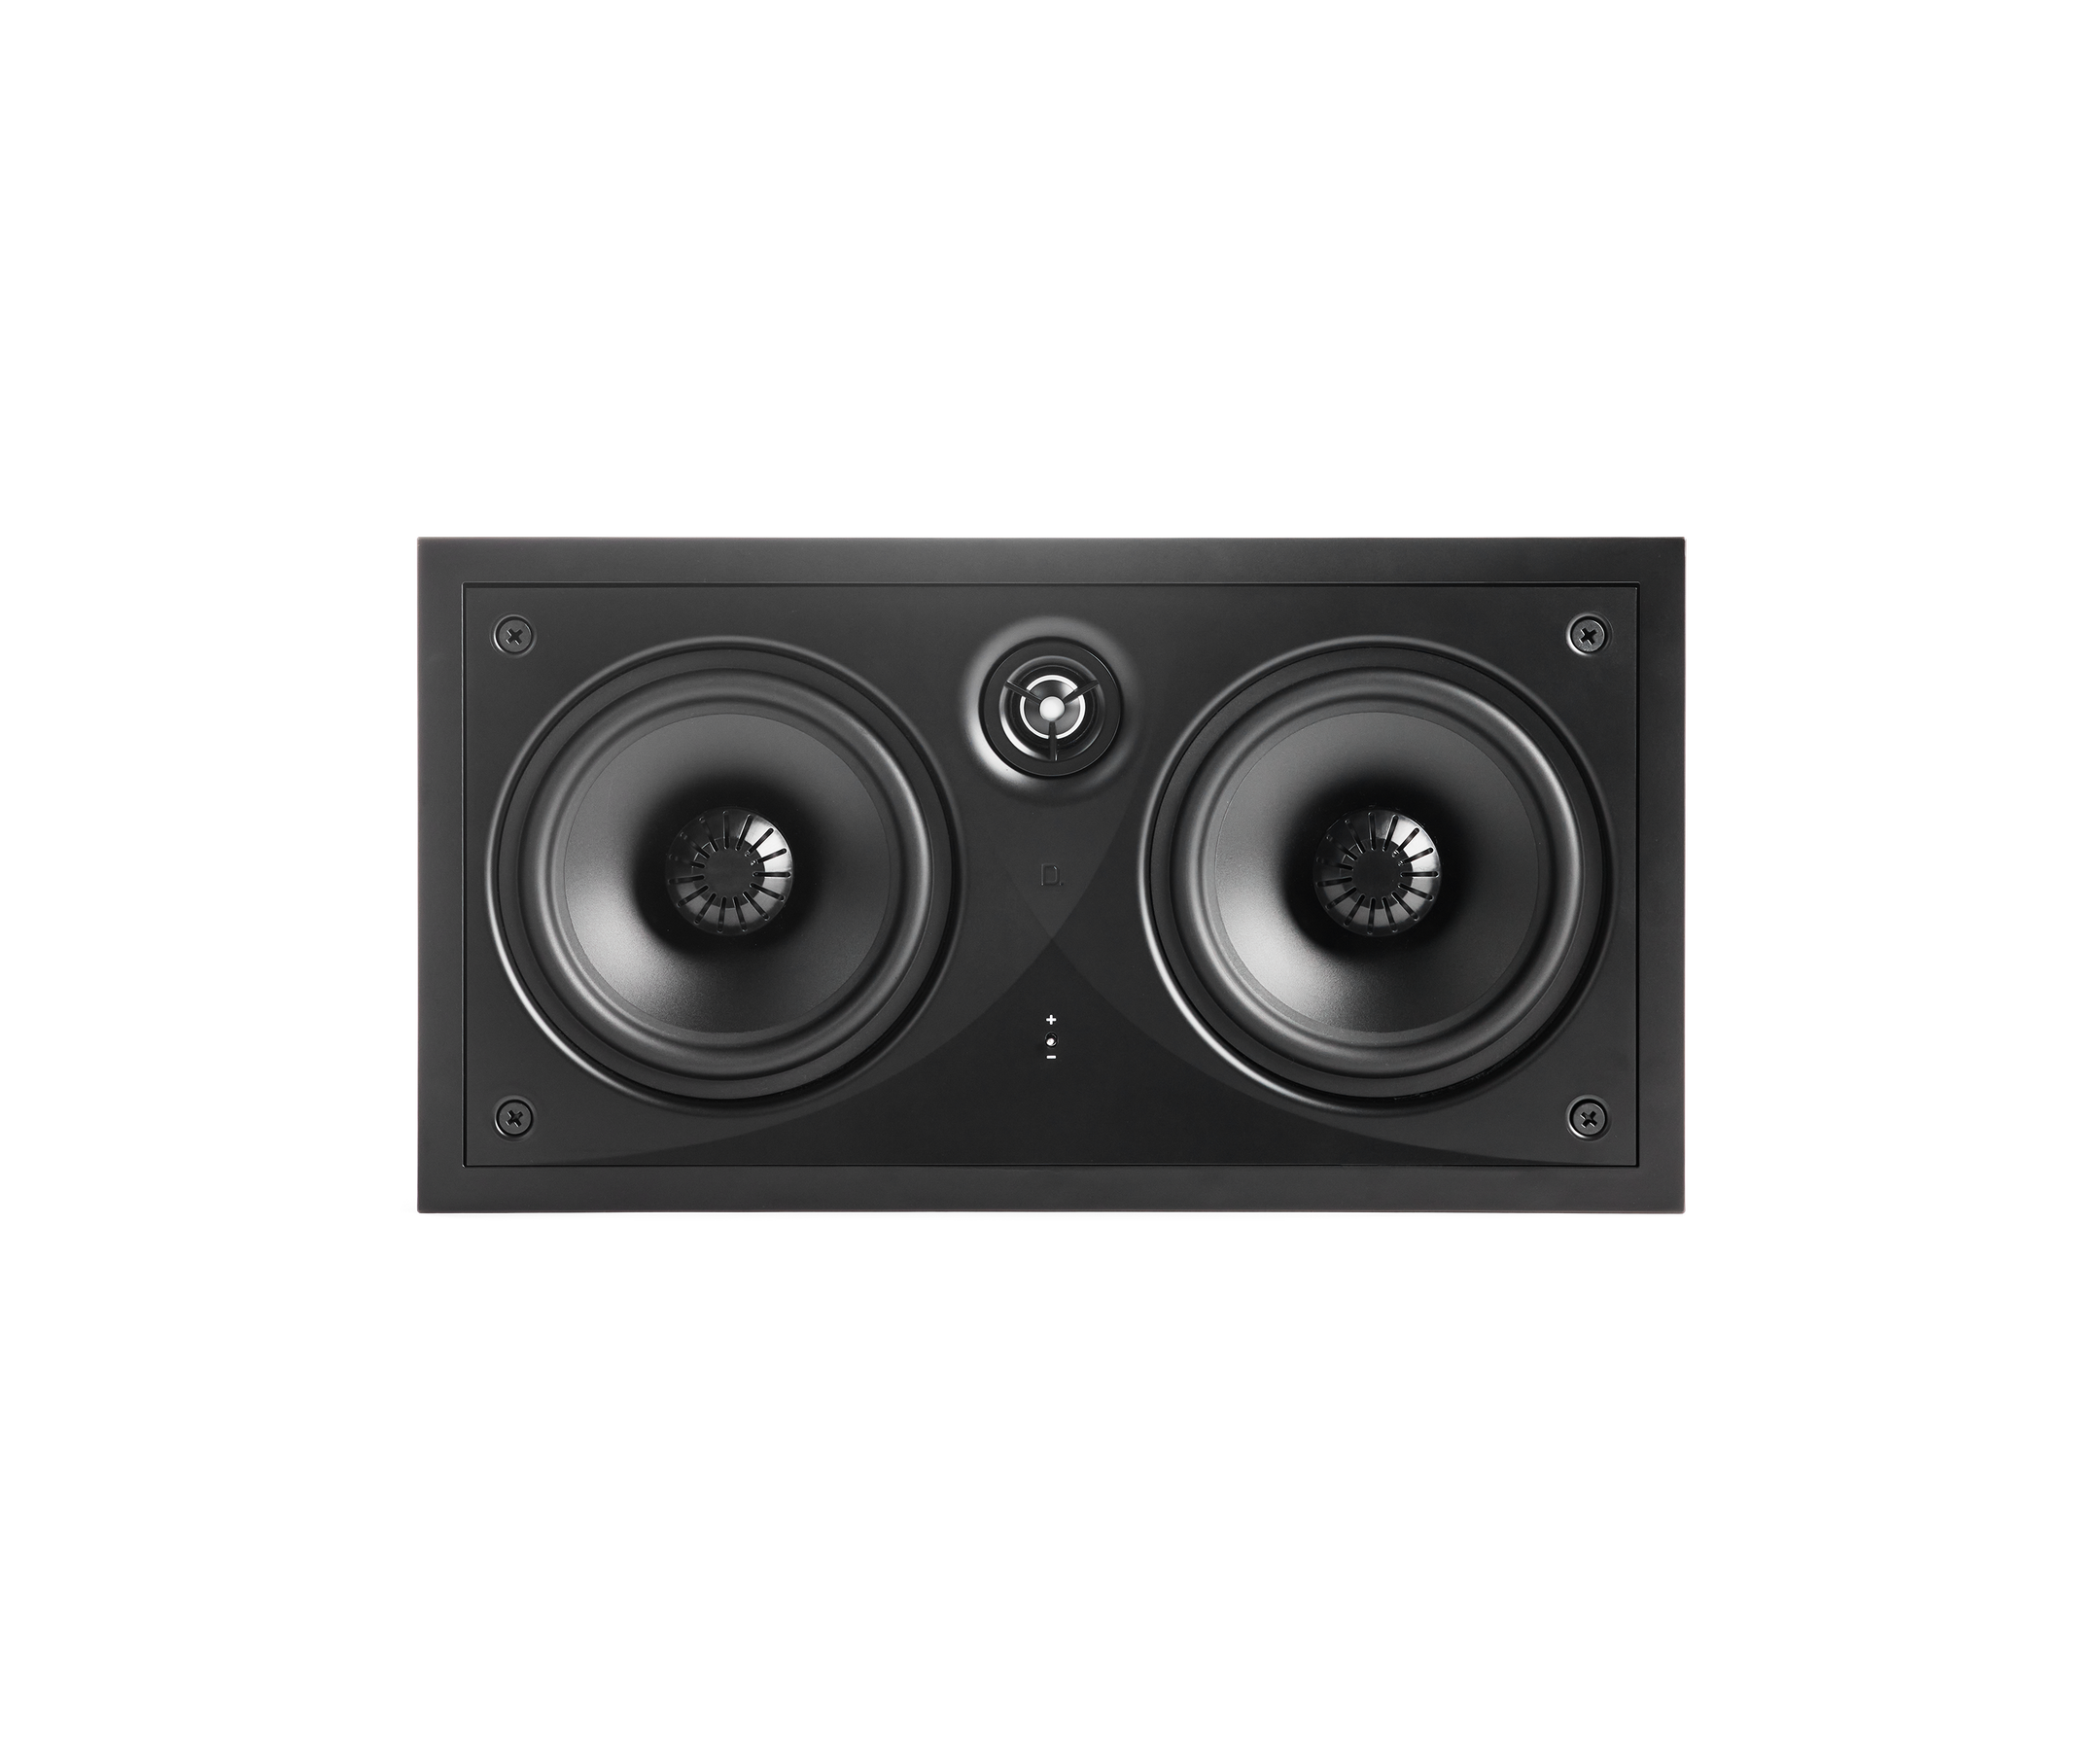
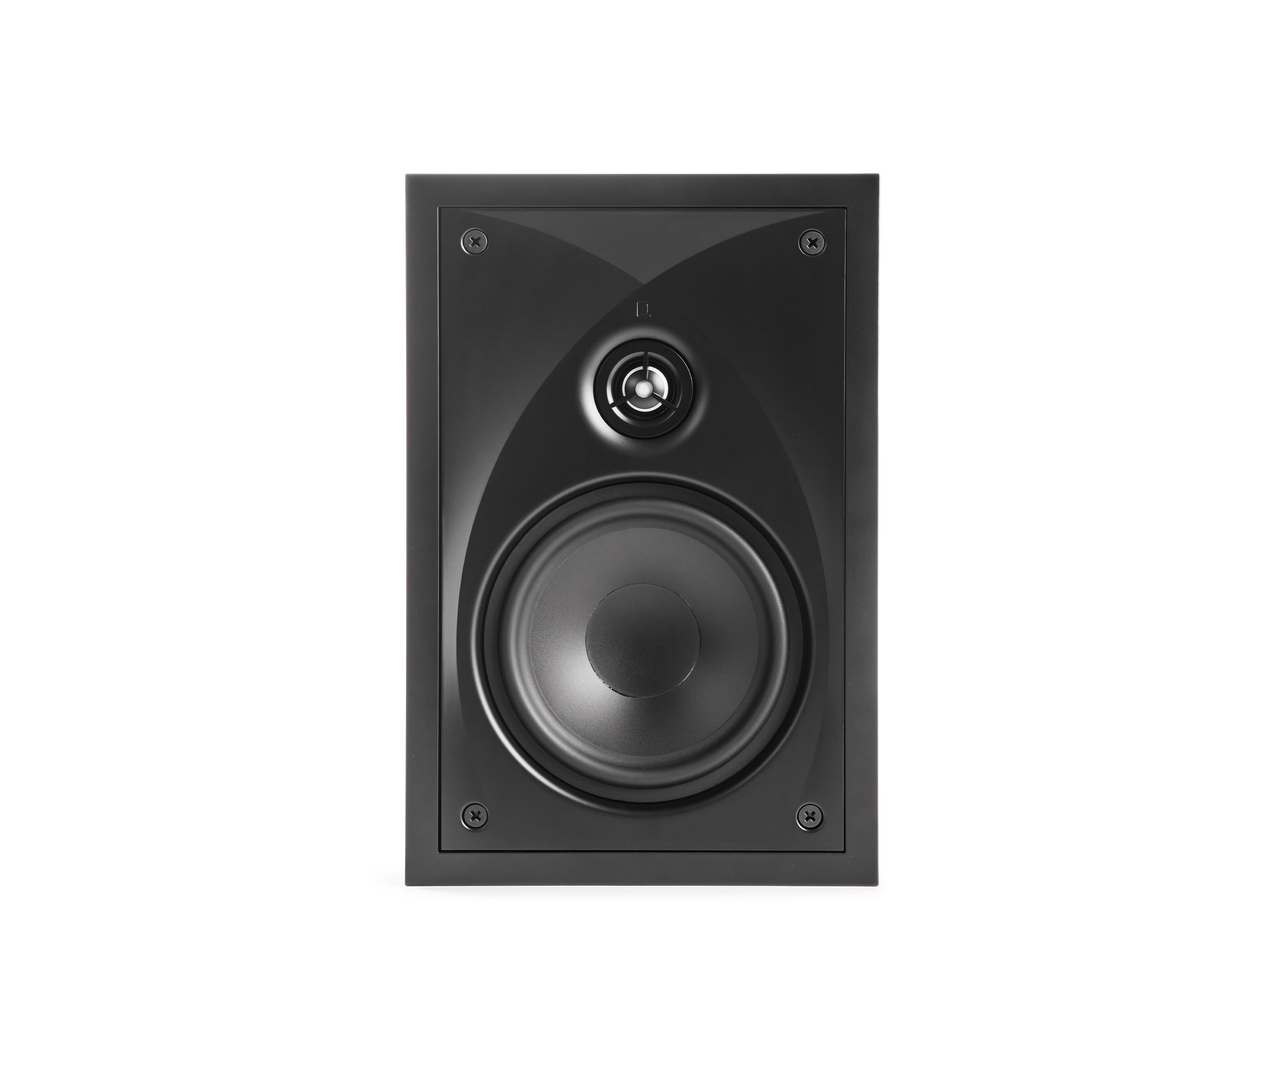
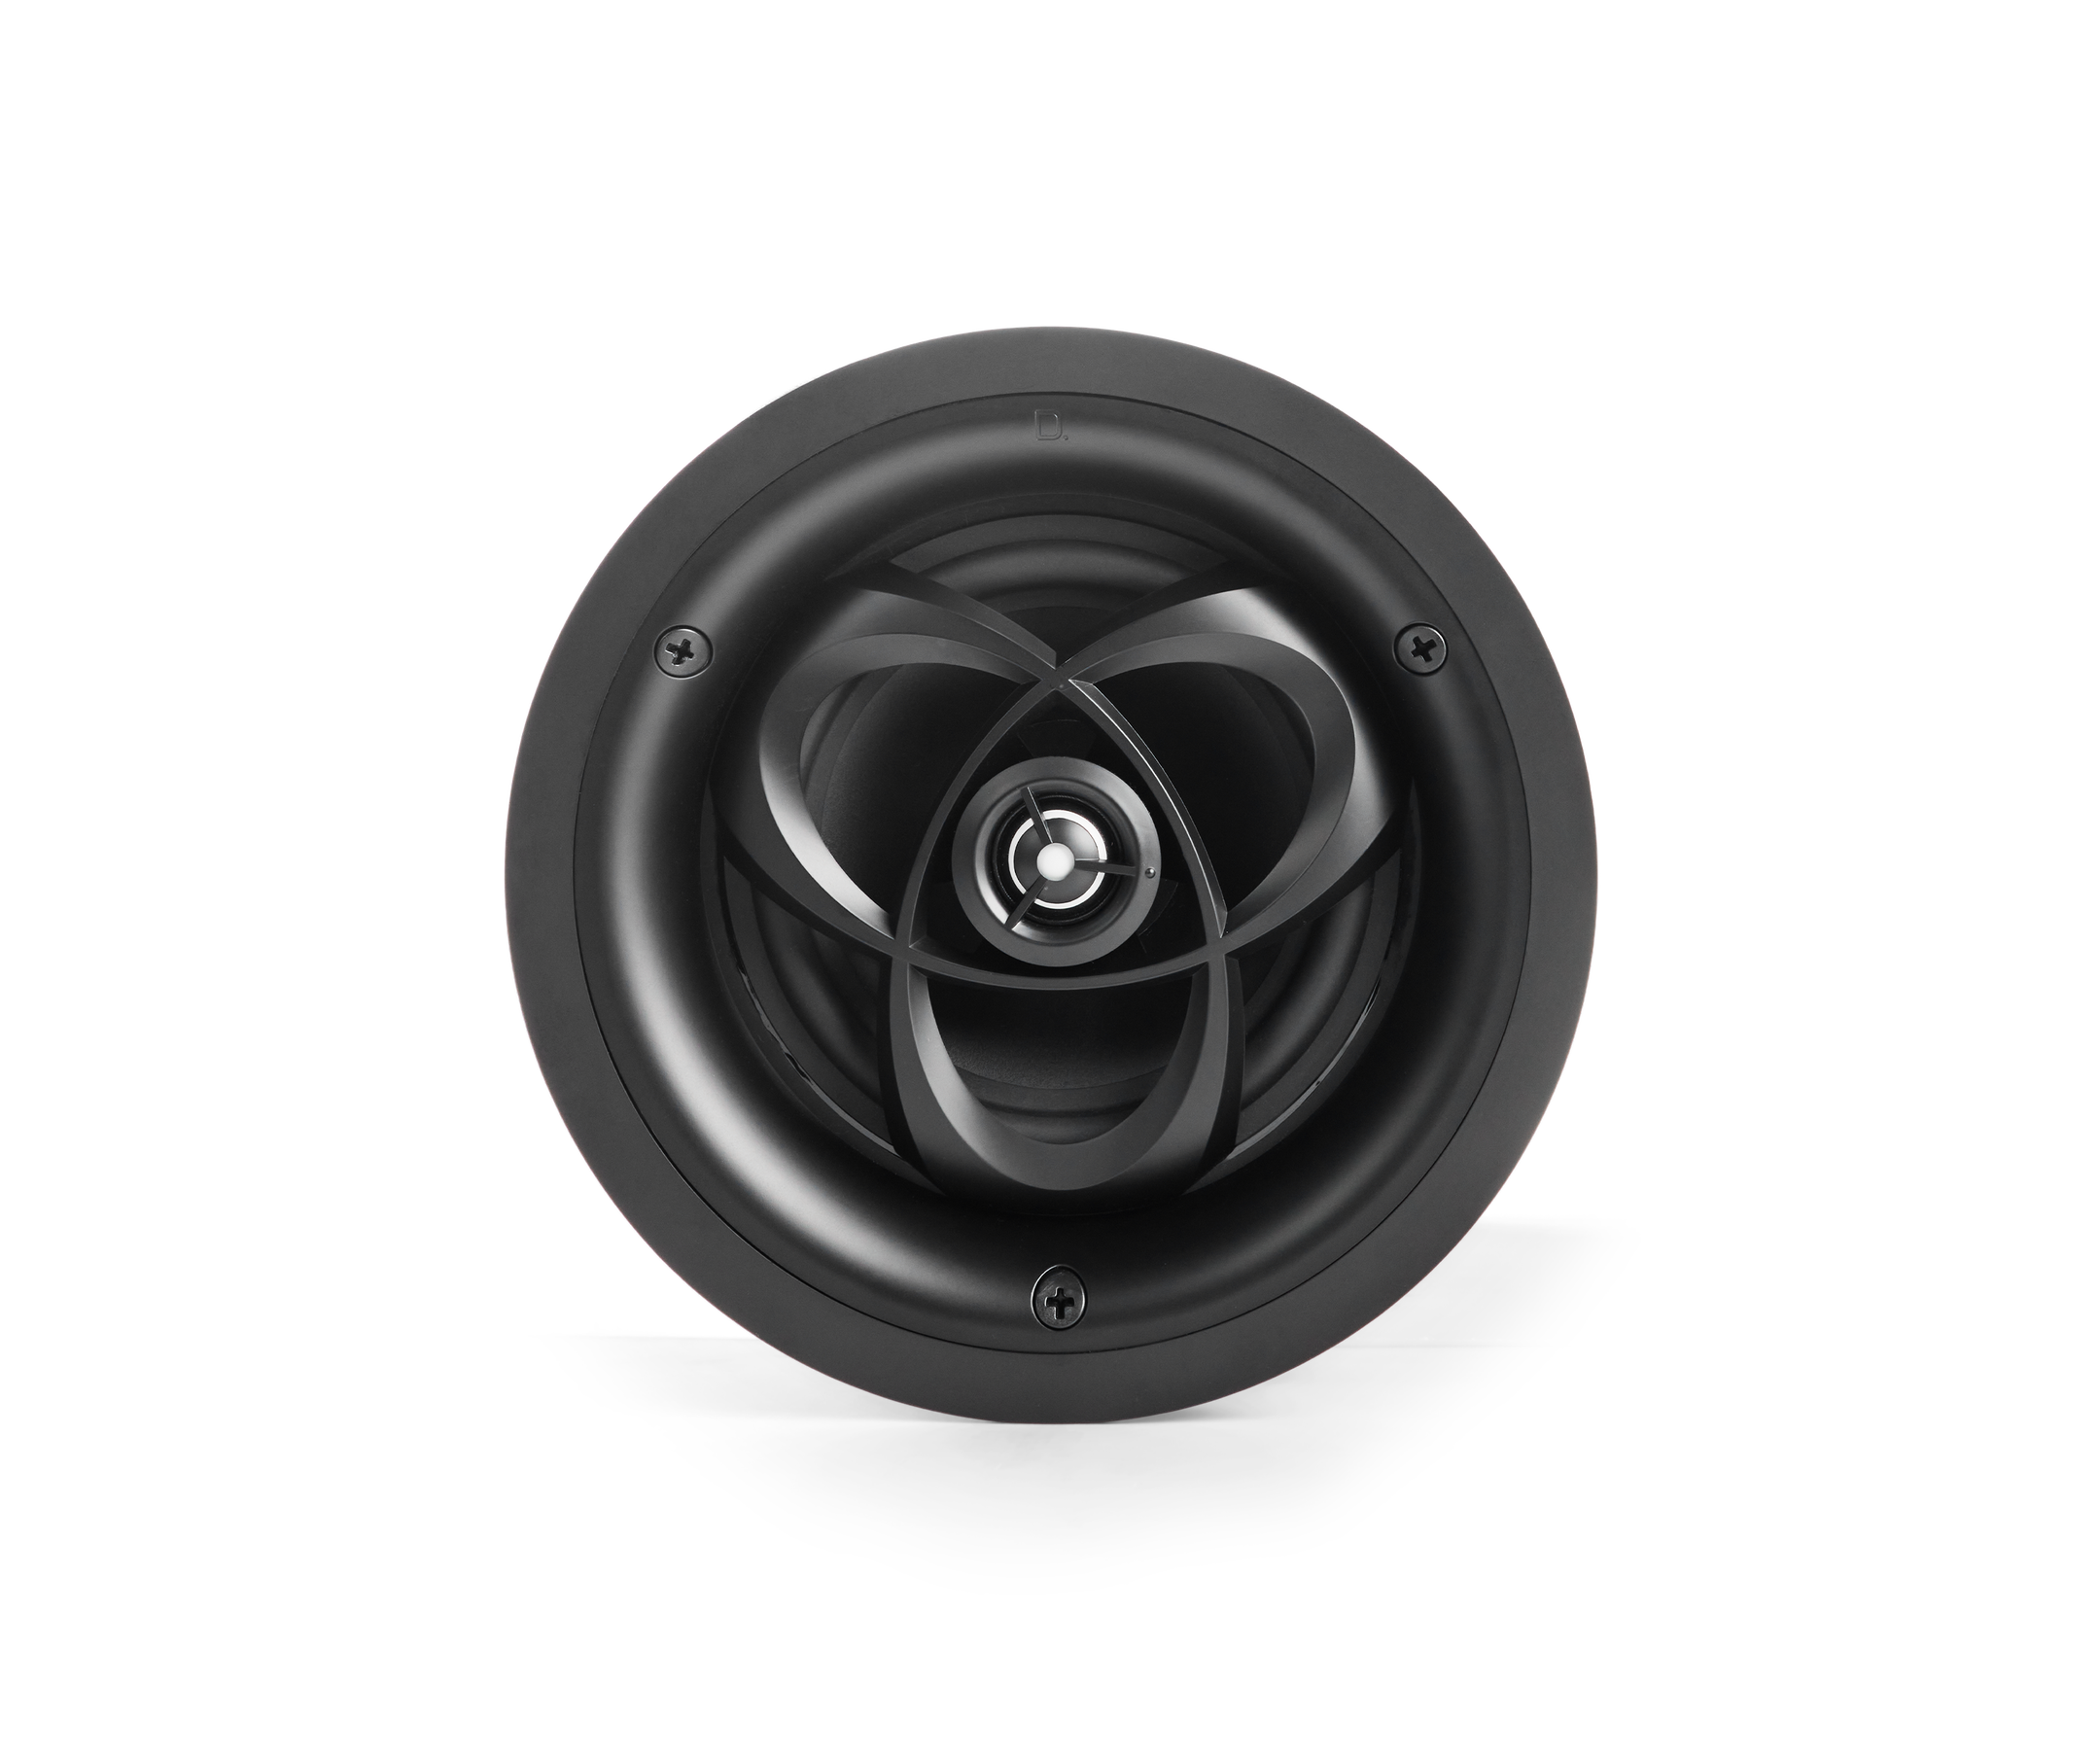
In-wall speakers offered a clean look and fewer cables for my baby son to yank out. Research pointed me towards Definitive Technology Dymension in-wall speakers and in-ceiling heights. I didn't get a chance to hear any speakers in person before my purchase, but I feel comfortable relying on my research methods before making decisions like this.
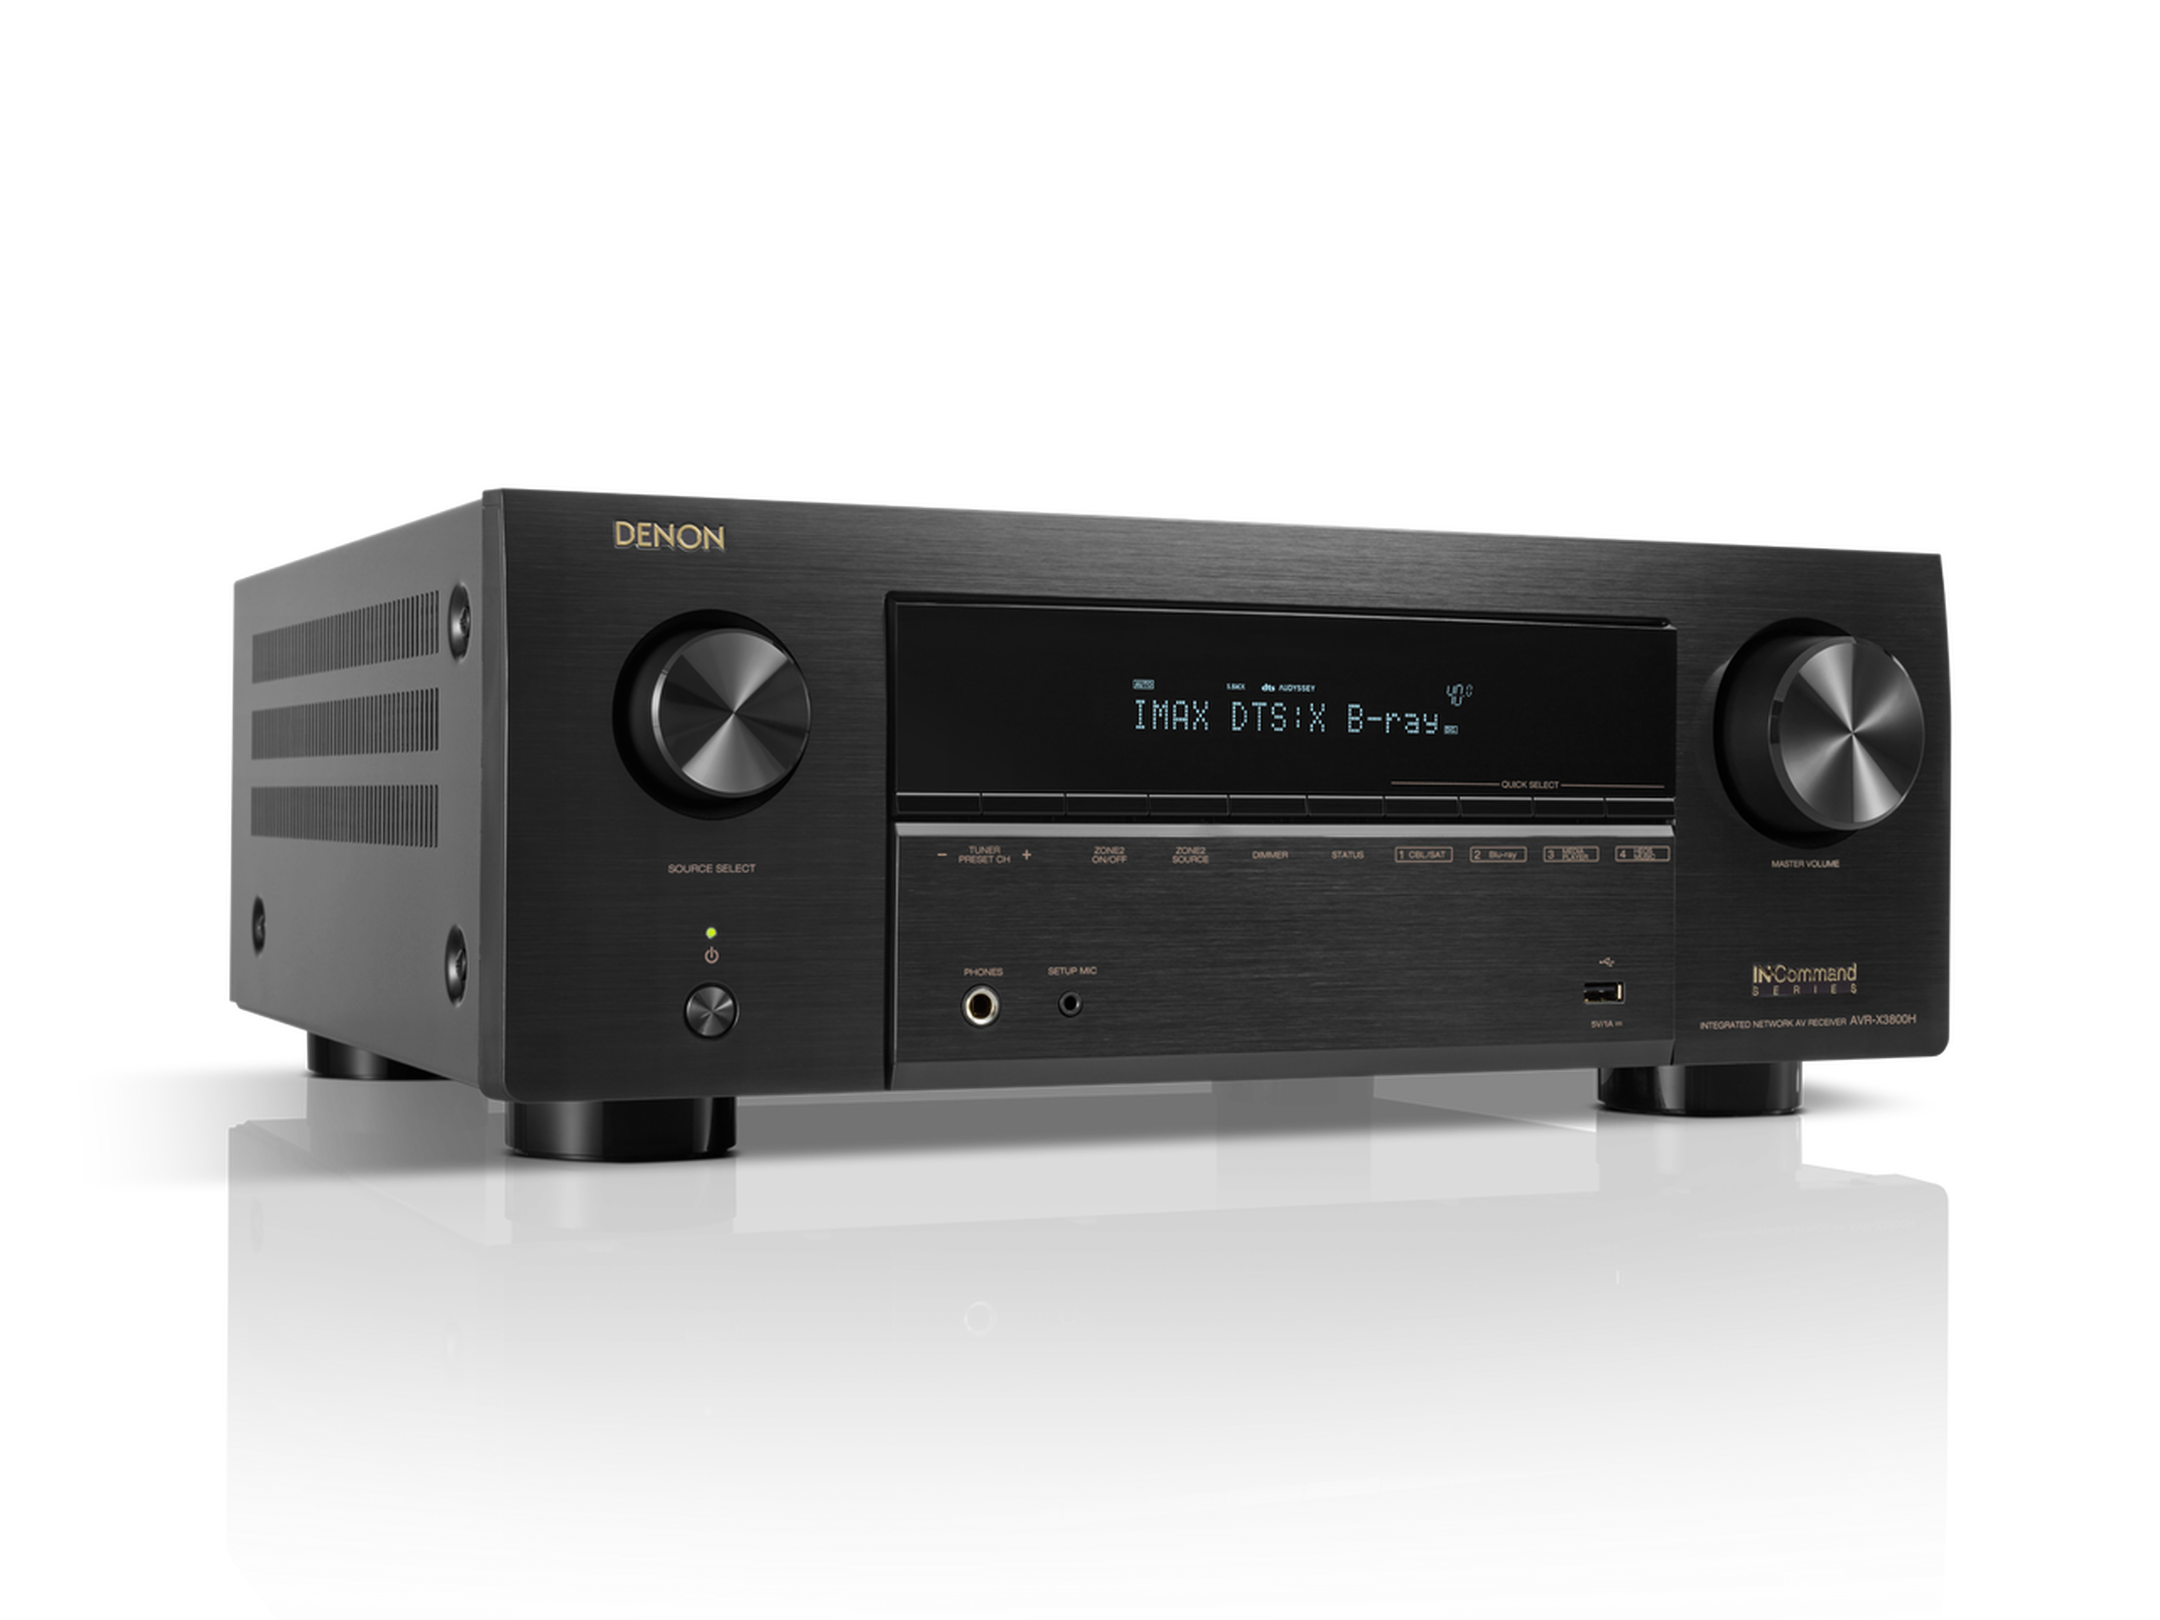
I consulted with Rusty at Crutchfield to help me pick out a receiver to pair with the speakers. He linked me to the Denon AVR-X3800H, assured me that I wouldn't need an external amplifier to power these speakers, and steered me away from unnecessary bipolar surrounds. Thanks, Rusty!
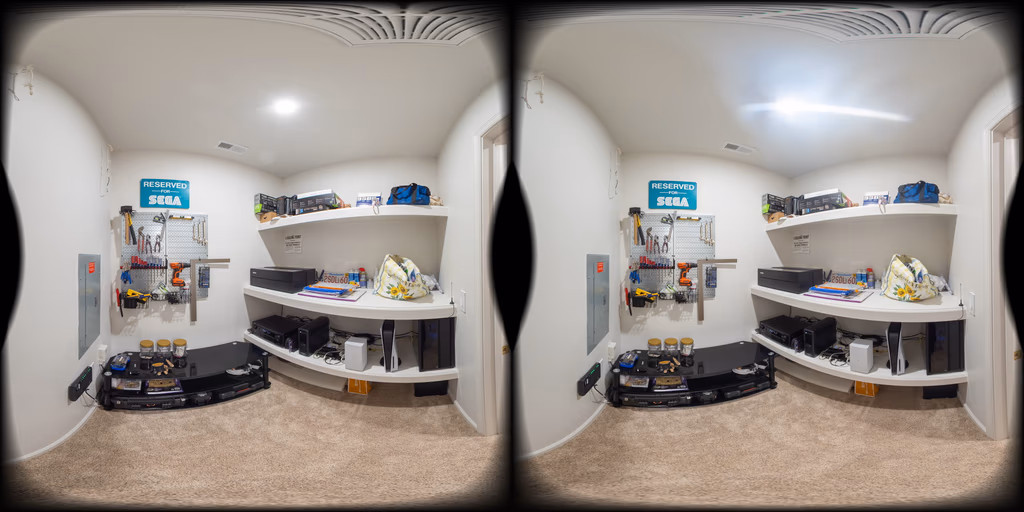
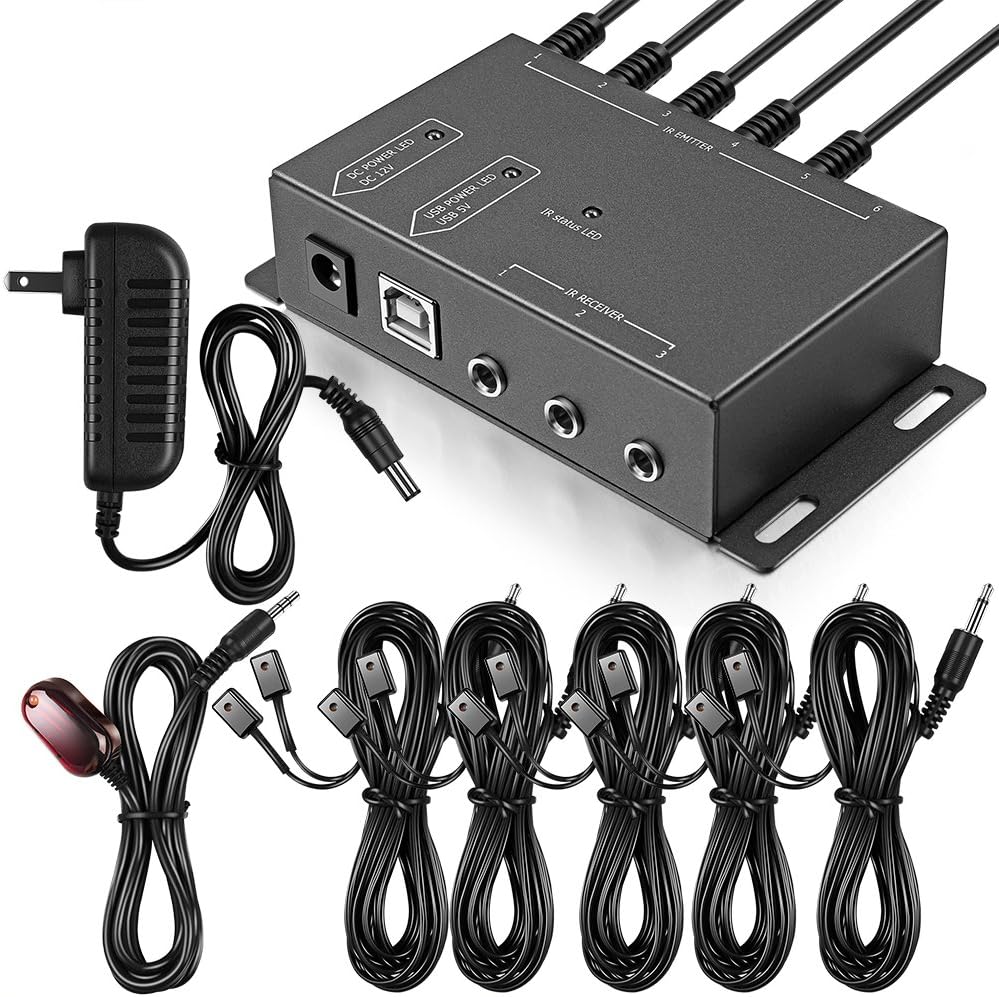
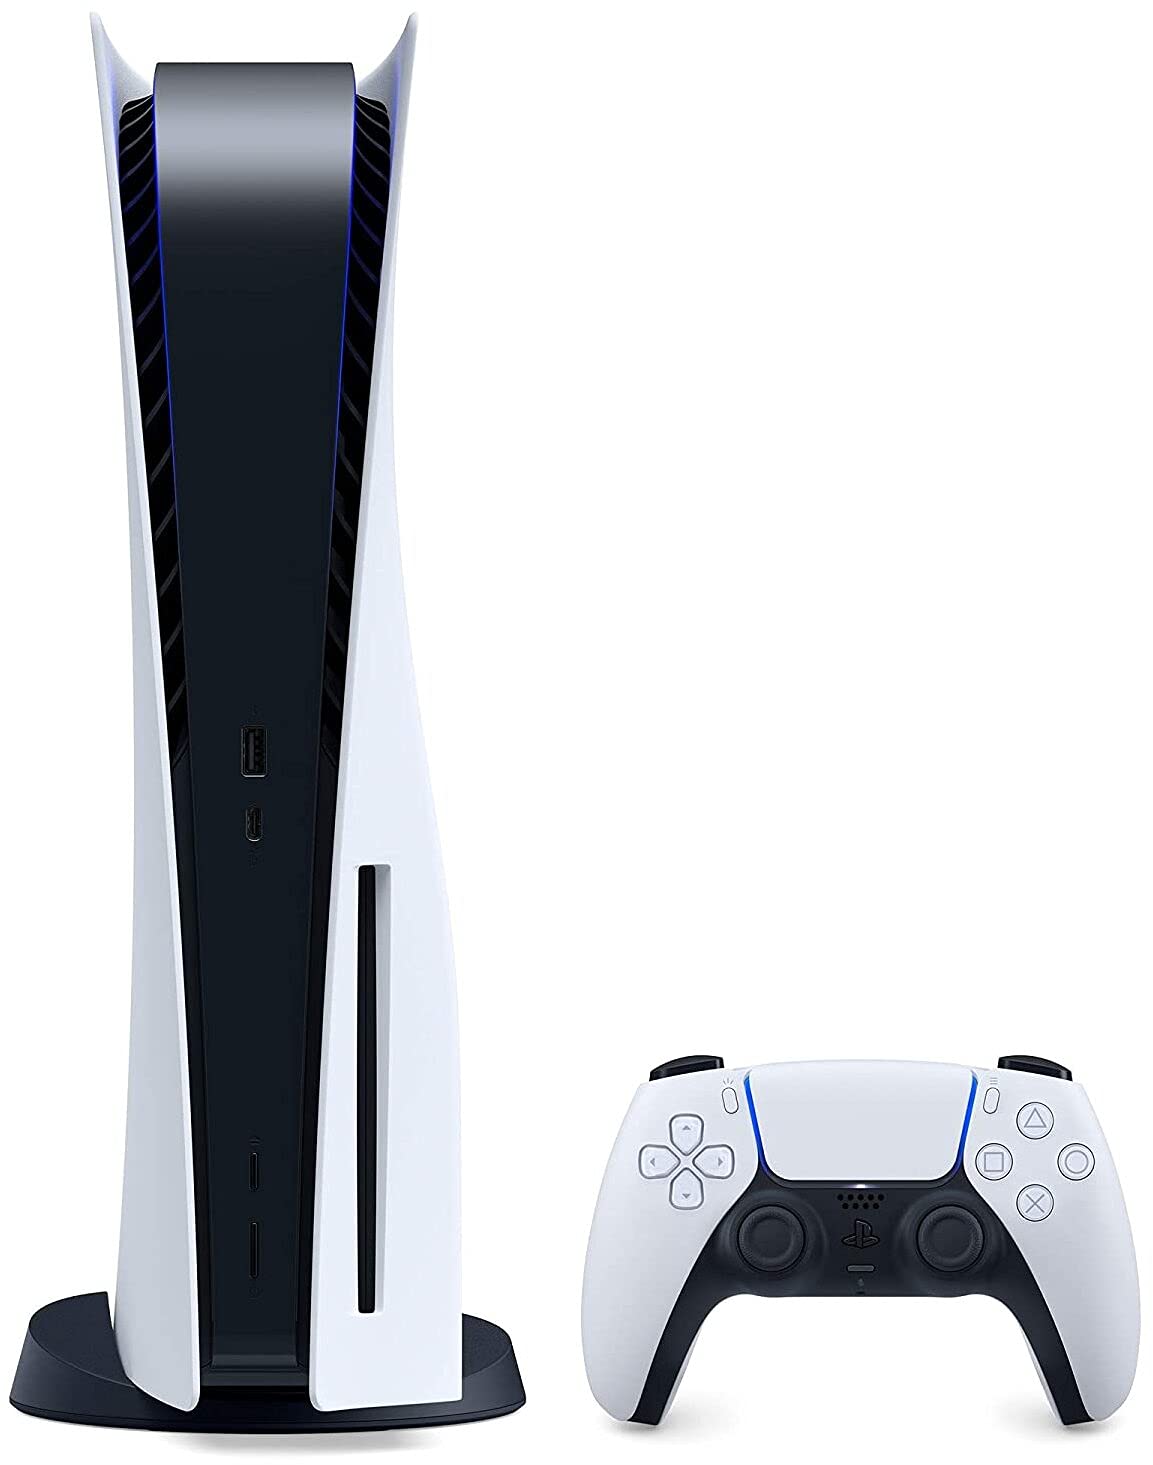
The receiver, PS5, home server, UPS, and networking equipment are all hidden on shelves in the equipment closet. Equipment is connected via conduits under the floor and in the wall. An infrared repeater system connected via a mono 3.5mm audio cable forwards remote control commands from the theater room into the equipment closet.
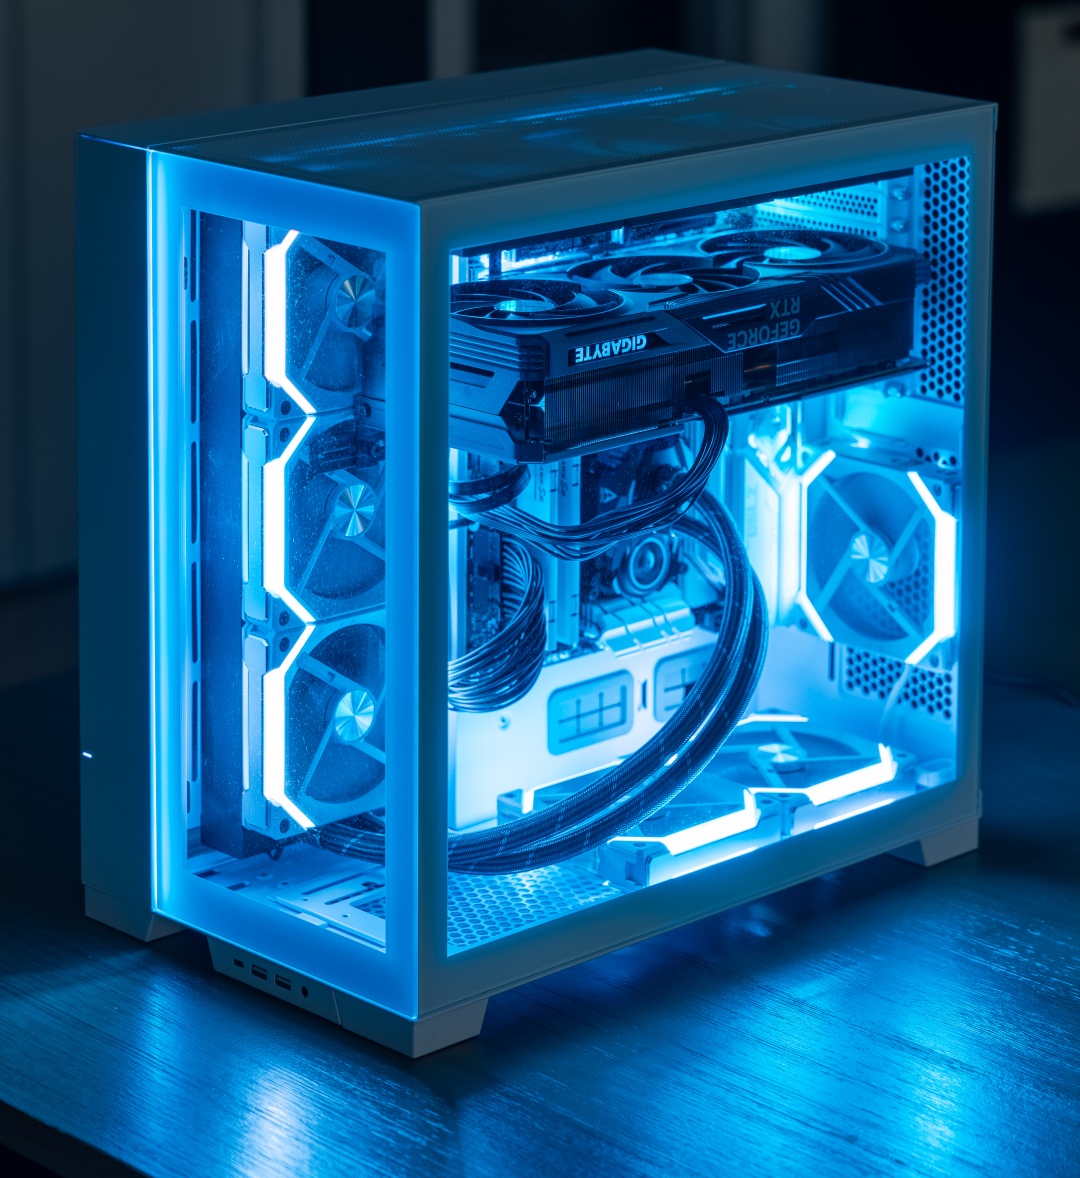
My PC "Öxarárfoss" is connected directly to the TV via a conduit to minimize input latency. It's hardwired to the 10Gb Ethernet port on my router.
With ROCKWOOL Safe 'n' Sound insulation, two solid-core doors between the theater and the rest of the house, and thick, 5/8" Gold Bond SoundBreak XP Fire-Shield Gypsum Board comprising the partition wall, the theater is virtually soundproof.
| Item | Total Cost | Comments | |
|---|---|---|---|
 | $1,359.2 Amazon |
| |
 | $1,797 DefTech |
| |
 | $558 DefTech |
| |
 | $558 DefTech |
| |
 | 1x KEF HTB2 Powered Subwoofer | Owned Amazon |
|
 | Owned Amazon (C5 77") |
| |
 | Owned Amazon | I've used this mount eight times and it's great every time. | |
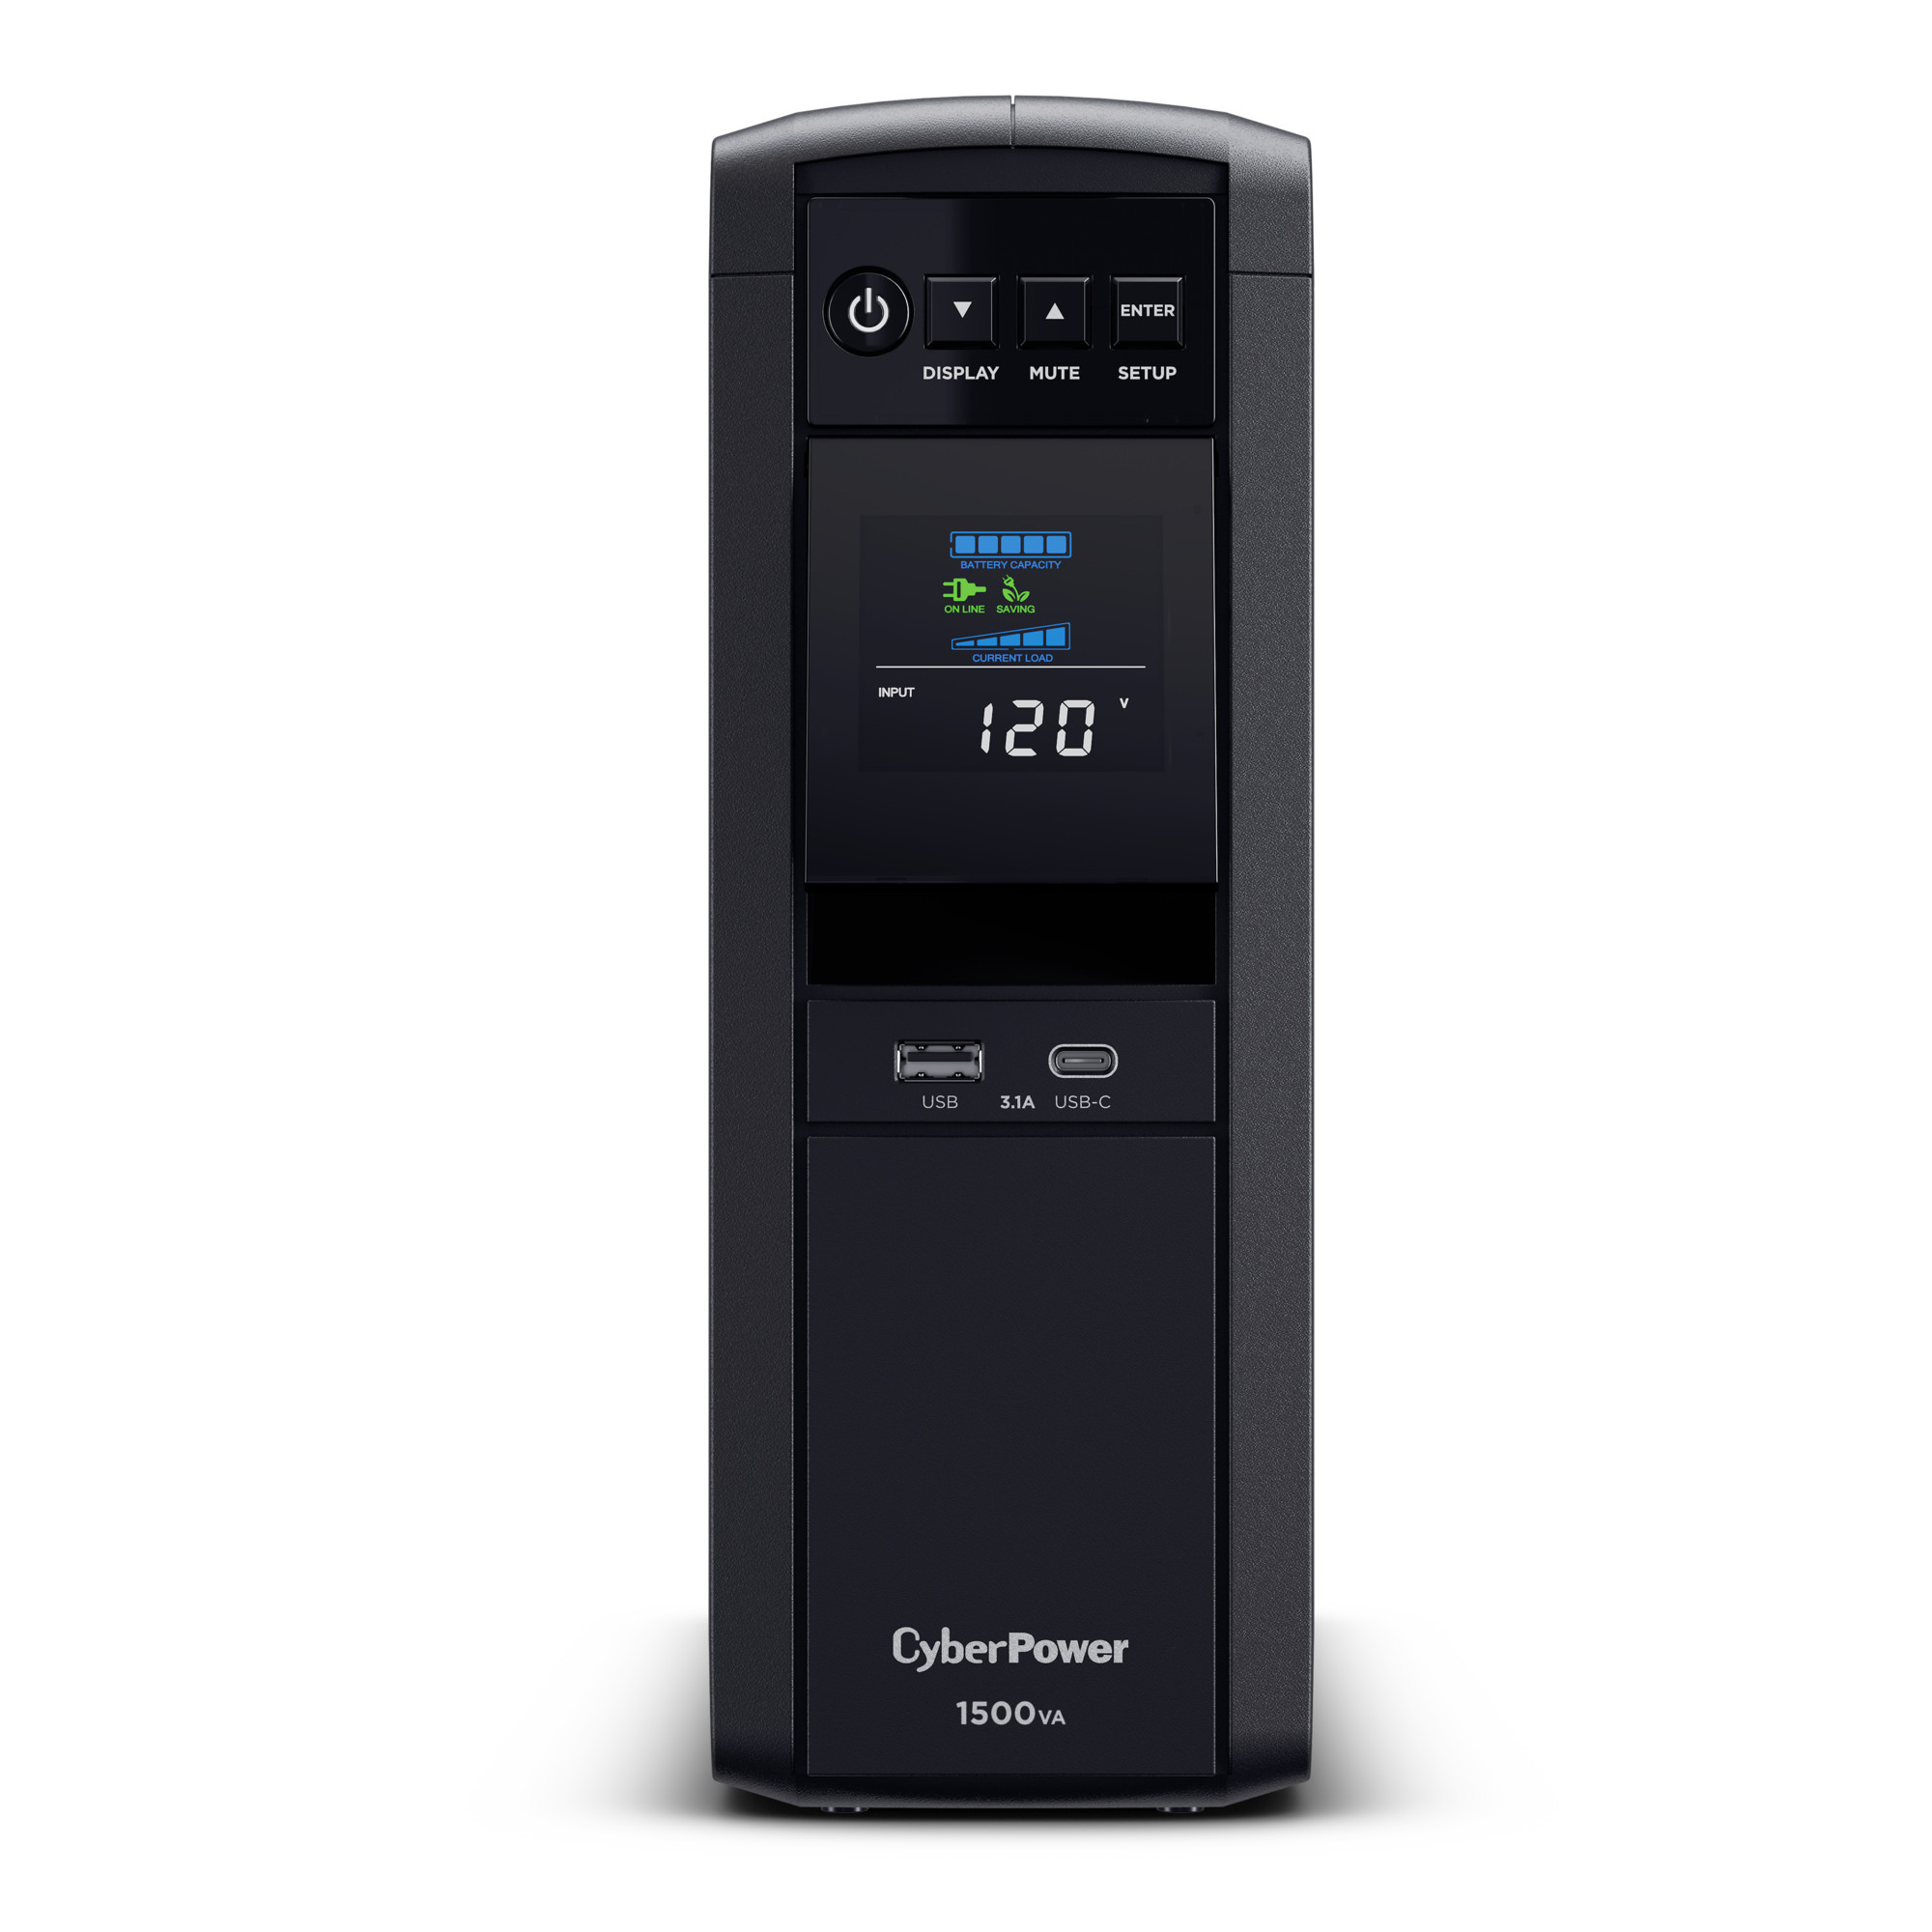 | $239.95 Amazon | Battery backup with 6 surge+battery outlets and 6 surge-only outlets. | |
 | $44.99 Amazon |
| |
 | 1x Adoreen Fiber Optic Active HDMI 2.1 Cable 35' | $41.99 Amazon |
|
 | $62.21 Amazon |
| |
 | 1x ICESPRING Infrared Repeater System | $24.38 Amazon |
|
 | Owned Amazon |
| |
 | 1x Custom PC "Öxarárfoss" | Owned |
|
| 1x Custom Server "FOX-SERVER" | Owned |
|
 | 1x HOMATICS Box R 4K Plus | $153 |
|
| Total | $4,838.72 | ||
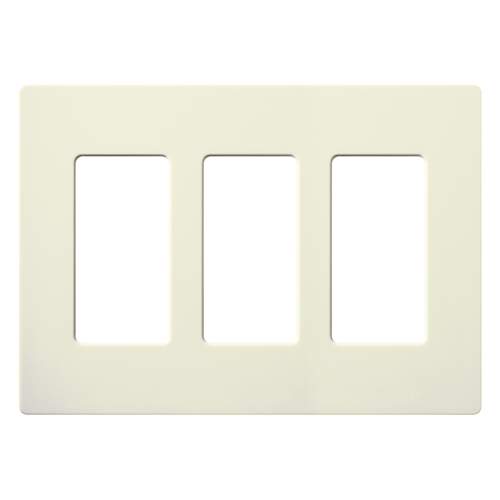
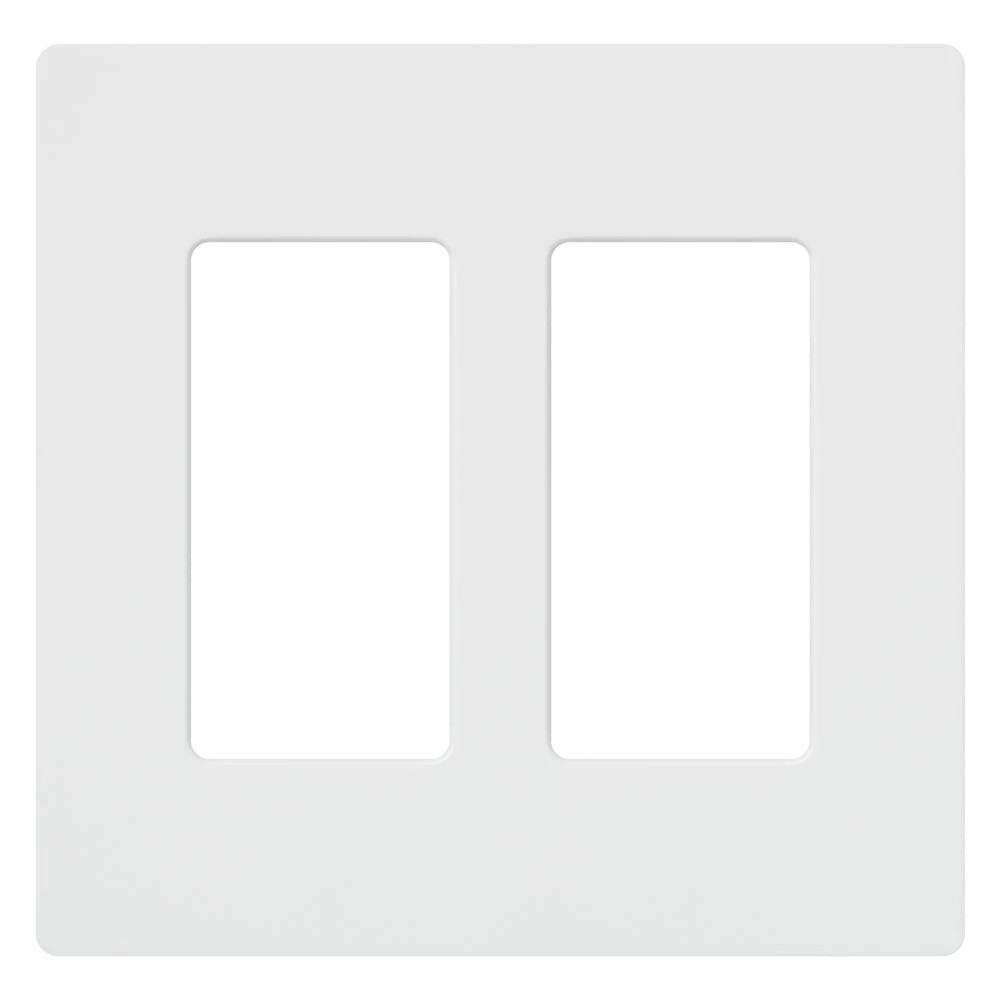
I wanted to have control over the style and color of everything installed in the theater, so I didn't rely on the wall accessories provided by our electrician.
Lighting is split into two zones:
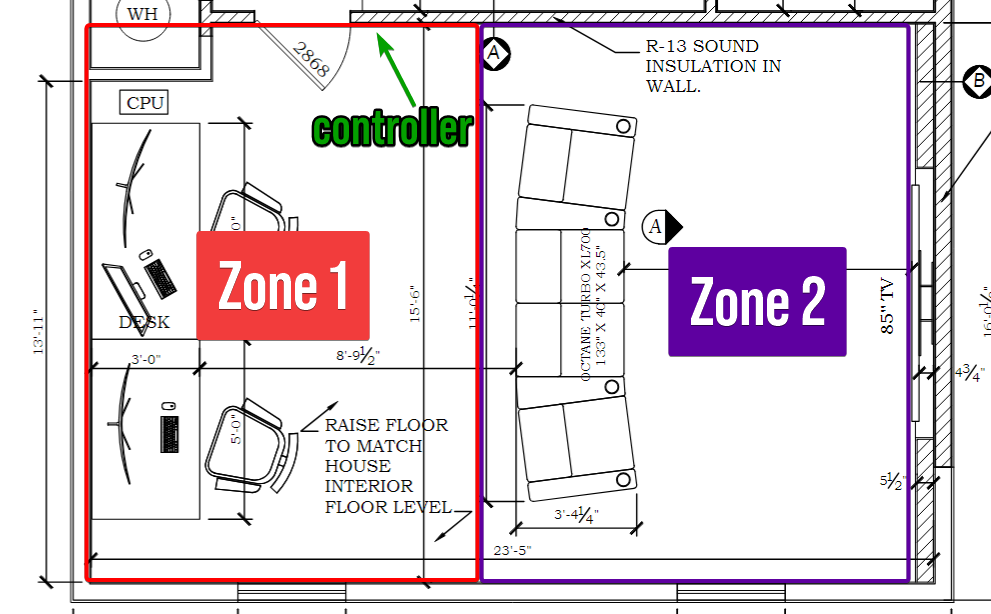
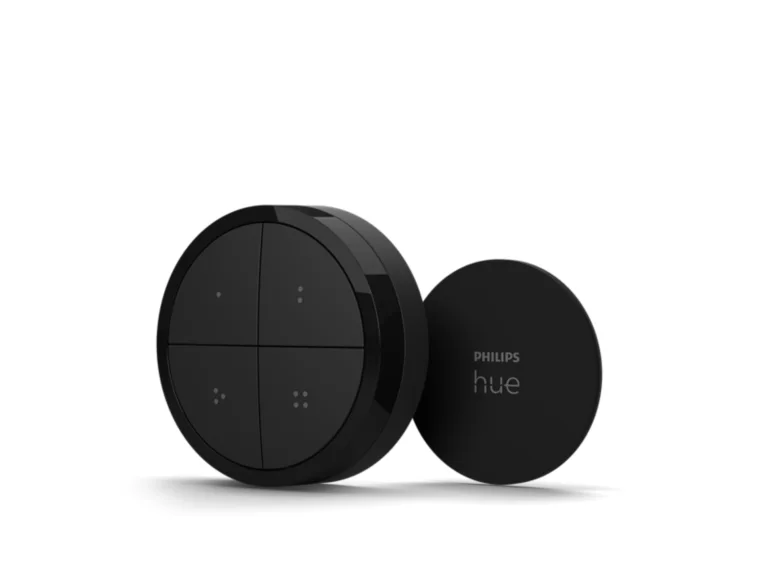
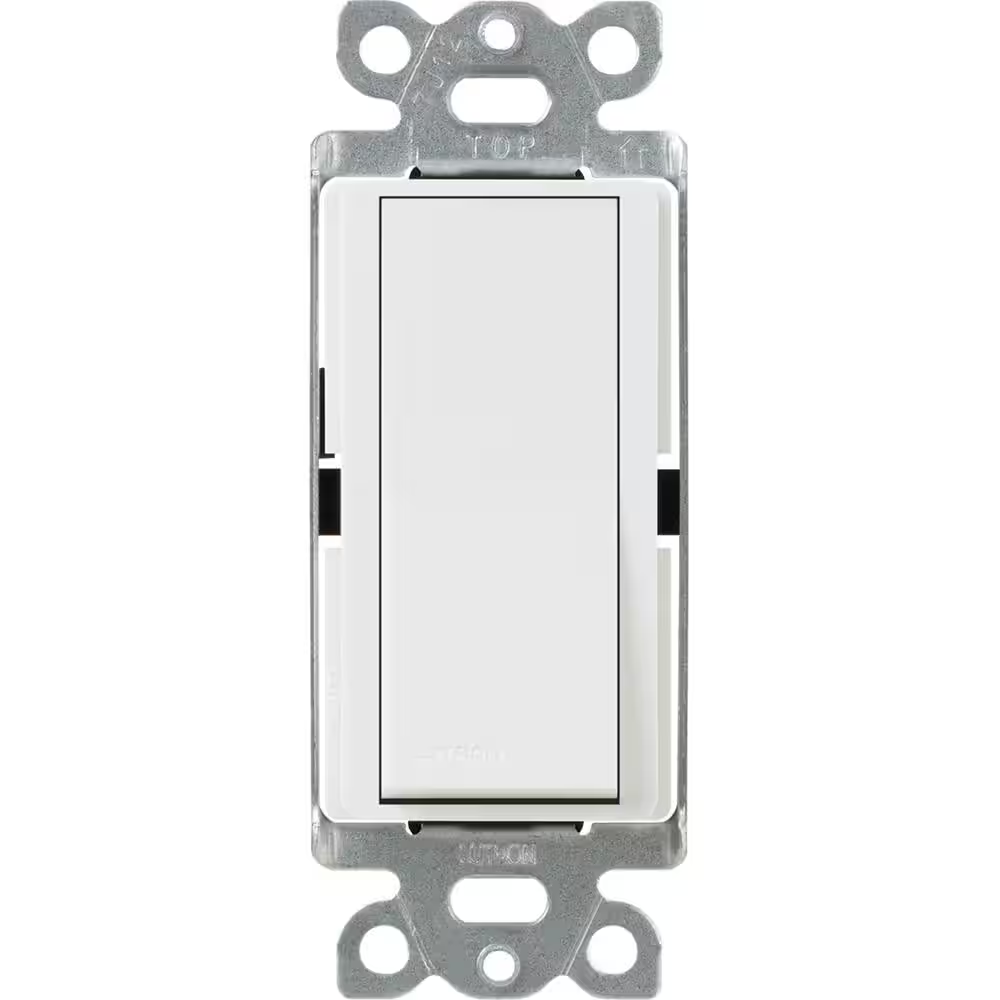
Each zone is controlled by a Sunnata PRO LED+ Touch Dimmer. Power to the sconces is controlled by a Lutron Sunnata switch. This switch is always on so that the Philips Hue Tap Switch Mini can control sconce brightness and color.
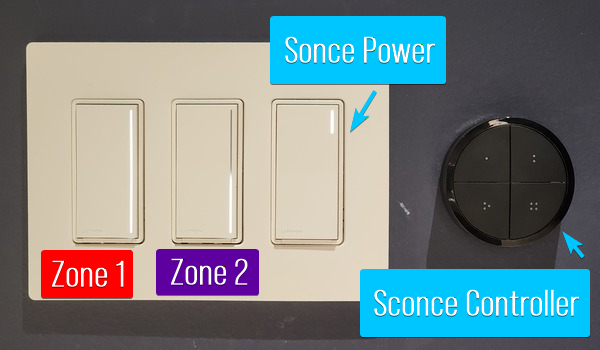
Lutron Sunnata light switches are beautiful, responsive, and very satisfying to use. Lutron also offers these switches in an "RF PRO" SKU which uses Lutron's wireless lighting system called RadioRA 3. I didn't want that.
I recommend the full-size Hue Tap Switches instead of the Tap Switch Mini, because the Mini's mounting plate doesn't have a notch to secure the puck-like controller to the wall. Thus, the entire switch rotates when you try to rotate just the unit's brightness ring while it's mounted to the wall. That's frustrating!
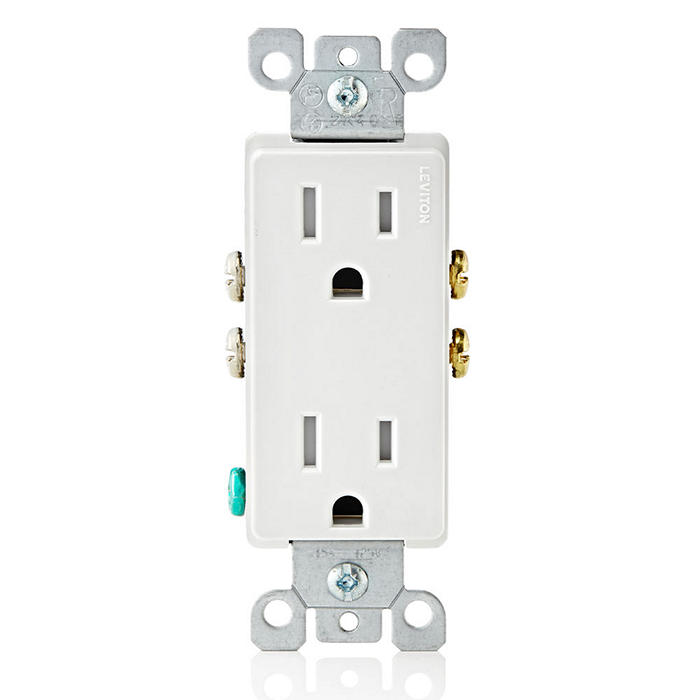
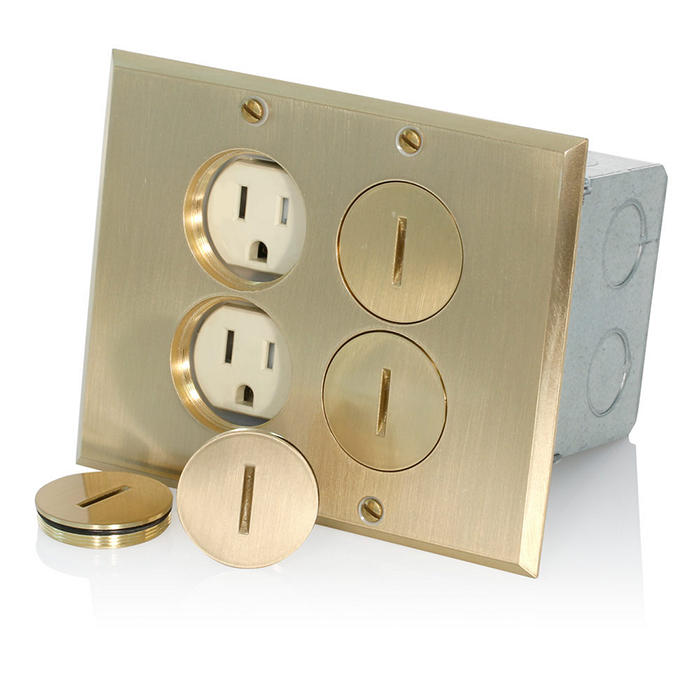
It's great to have four outlets mounted in the floor for the power recliners. The outlets are hidden underneath the center of the seats, so the recliners feel like wireless magic.
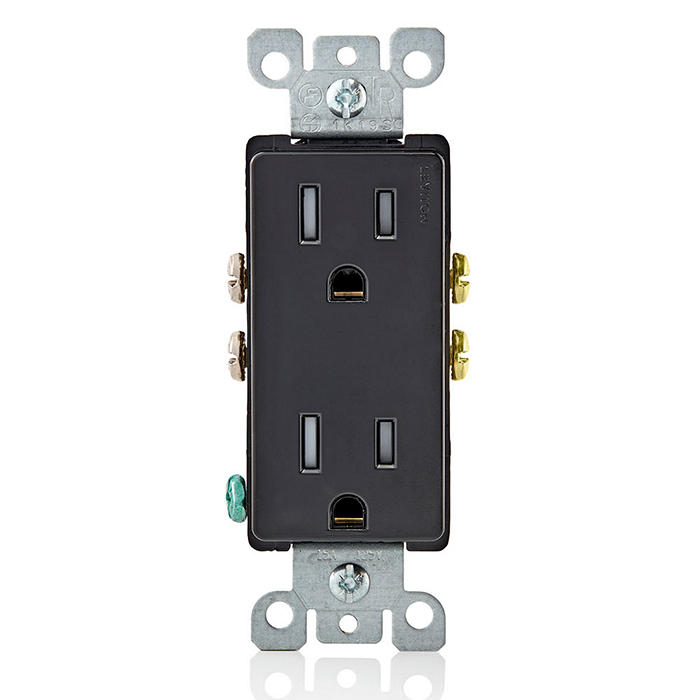
For the theater wall, I spent a few extra dollars on outlet plates with a black satin finish, which reflect less light.
| Item | Total Cost | Comments | |
|---|---|---|---|
 | 2x Lutron Sunnata PRO ST-PRO-N-BI LED+ Touch Dimmer - Biscuit | $200 Amazon (White) |
|
 | $100 |
| |
 | $32.49 Amazon (Full-Size) |
| |
 | $15 Amazon |
| |
 | 1x Lutron Claro CA-1PS-WH On/Off Switch - White | $7 Amazon |
|
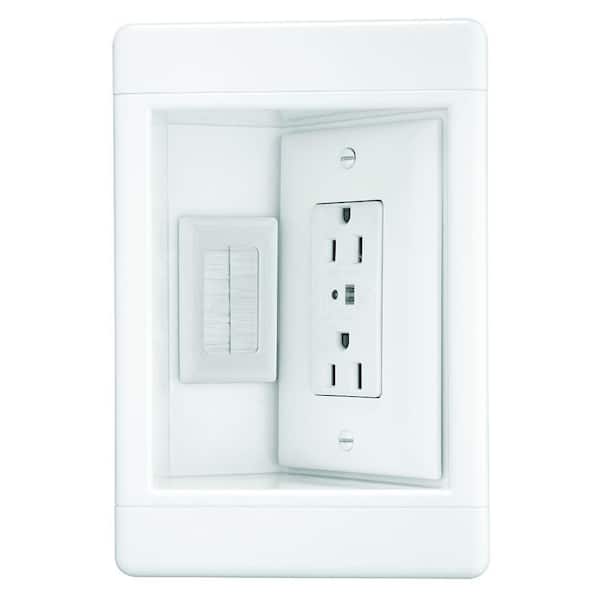 | 1x Legrand Pass & Seymour 1 Gang Recessed TV Media Box Kit | $31.98 Home Depot |
|
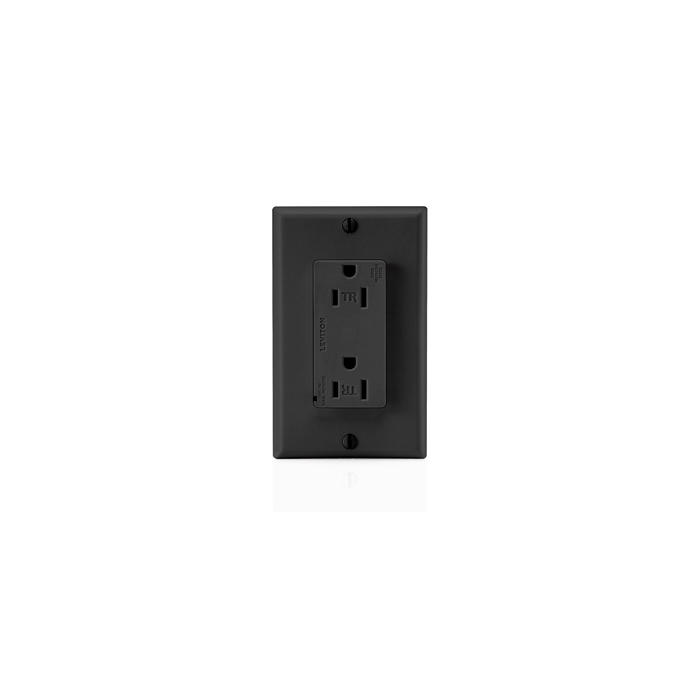 | 1x Leviton T5280-E 15A Surge Suppressor Duplex Outlet - Black | $18.9 Amazon |
|
 | $29.79 Amazon |
| |
 | $13.24 Amazon |
| |
 | 1x Leviton 35249-TFB 2-Gang 15A Duplex Floor Box - Brass Finish | $178.71 Amazon |
|
 | $15 Amazon |
| |
 | $4 Amazon |
| |
 | $4.76 Amazon |
| |
 | $8 Amazon |
| |
 | $14.58 Amazon |
| |
 | $7.84 Amazon |
| |
 | $19.98 Crutchfield |
| |
 | $9.99 Crutchfield |
| |
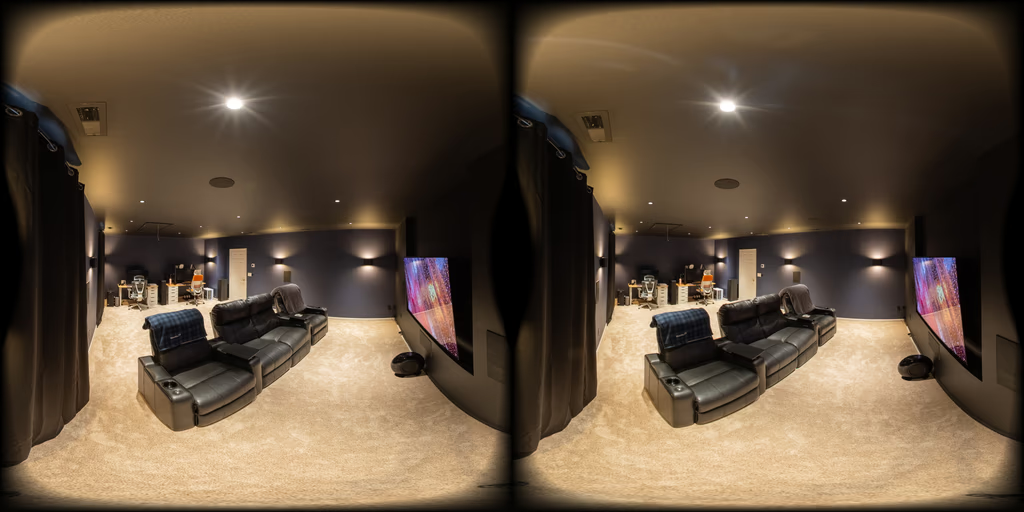
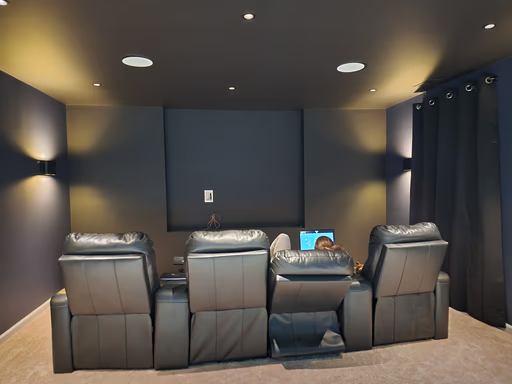
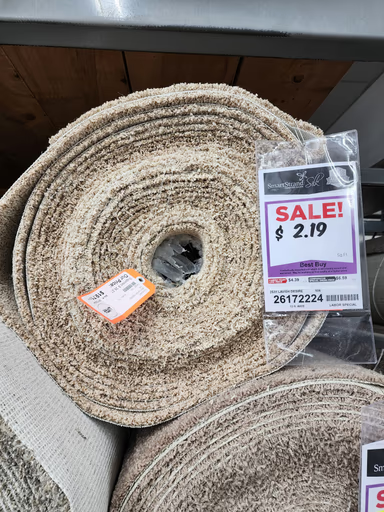
I bought a cosmetically-imperfect carpet from Airbase Carpet & Tile Mart in Millsboro, DE for less money than my GC's $2,500 carpet allowance. I love it! Part of me was concerned that a lighter carpet would be distracting during movies, but it's not at all. Instead, the brighter floor tones prevent the room from feeling like a dark cave.
A thick carpet pad keeps things extra spongy. It's enjoyable to lay down on the floor in here.
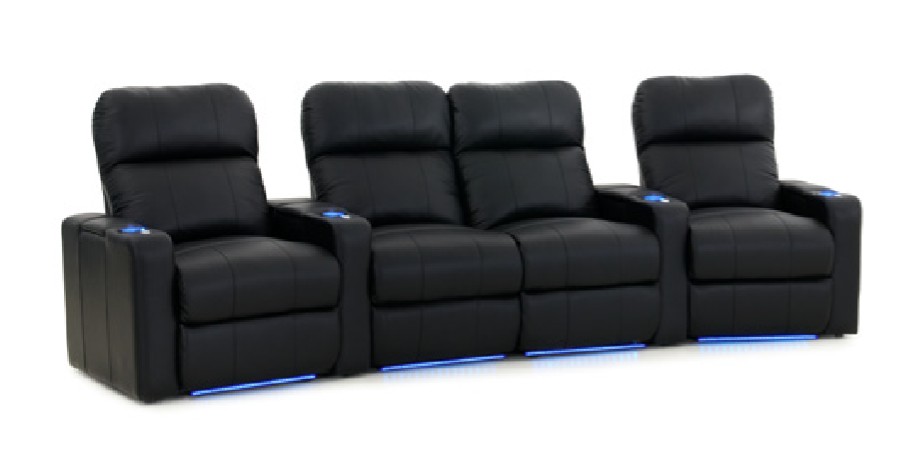
Four Turbo XL700 reclining theater seats have been through three moves and they're still great. They start to get uncomfortable after 2.5-3 hours of lounging, but it's time to get up after that anyway.
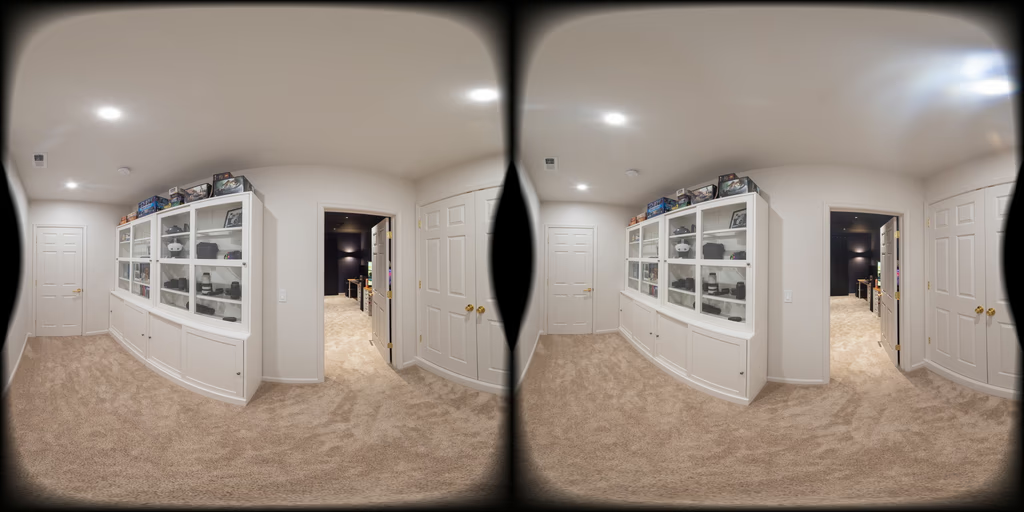
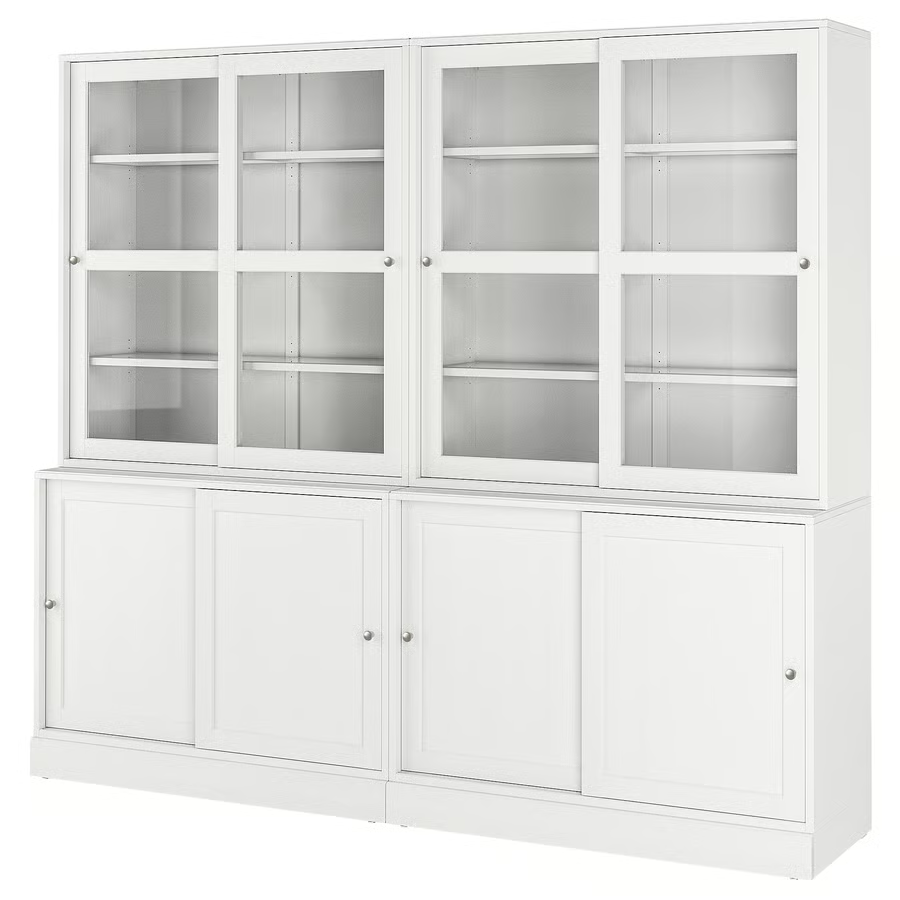
The IKEA HAVSTA storage shelves are huge and very sturdy. They sit in the hallway and look nearly like built-ins. Shelves behind glass sliding doors are perfect for storing camera gear, our Blu-Ray collection, and board games.
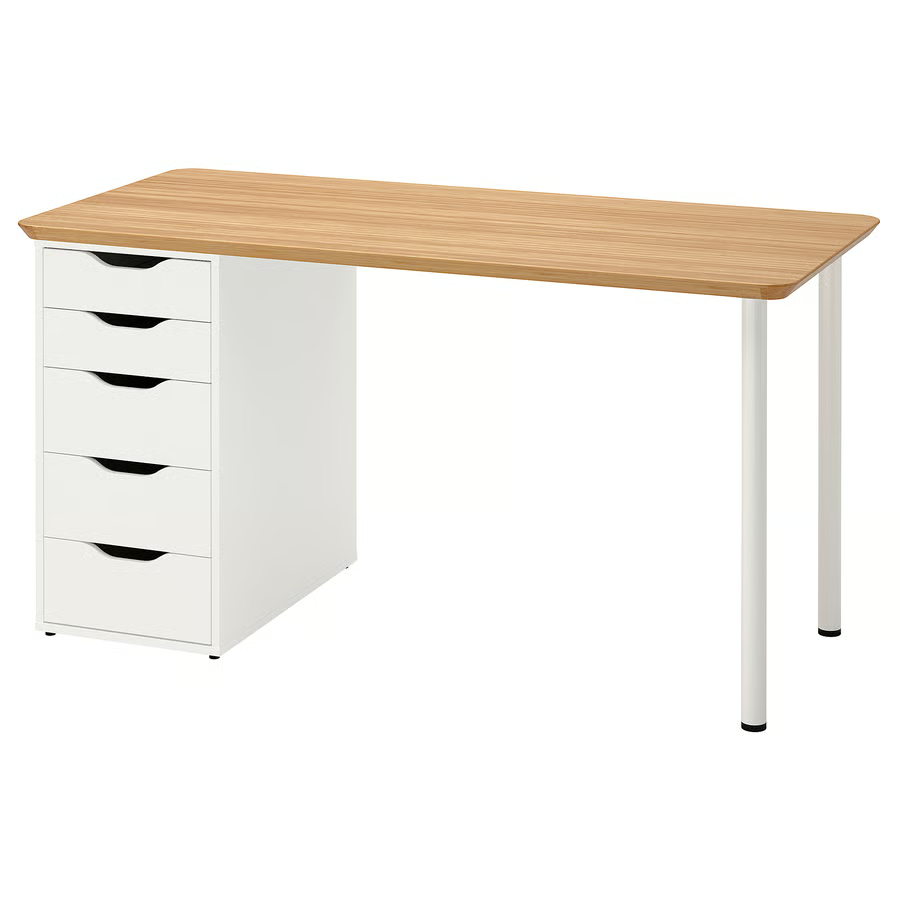
My wife and I have our gaming rigs next to each other on desks opposite the TV wall. I highly recommend this setup.
| Item | Total Cost | Comments | |
|---|---|---|---|
 | $2,124 |
| |
 | Owned |
| |
 | Owned Theater Seat Store |
| |
 | $1,560 Ikea |
| |
 | 1x Karlby/Alex Computer Desk | Owned |
|
| $313.99 Ikea |
| |
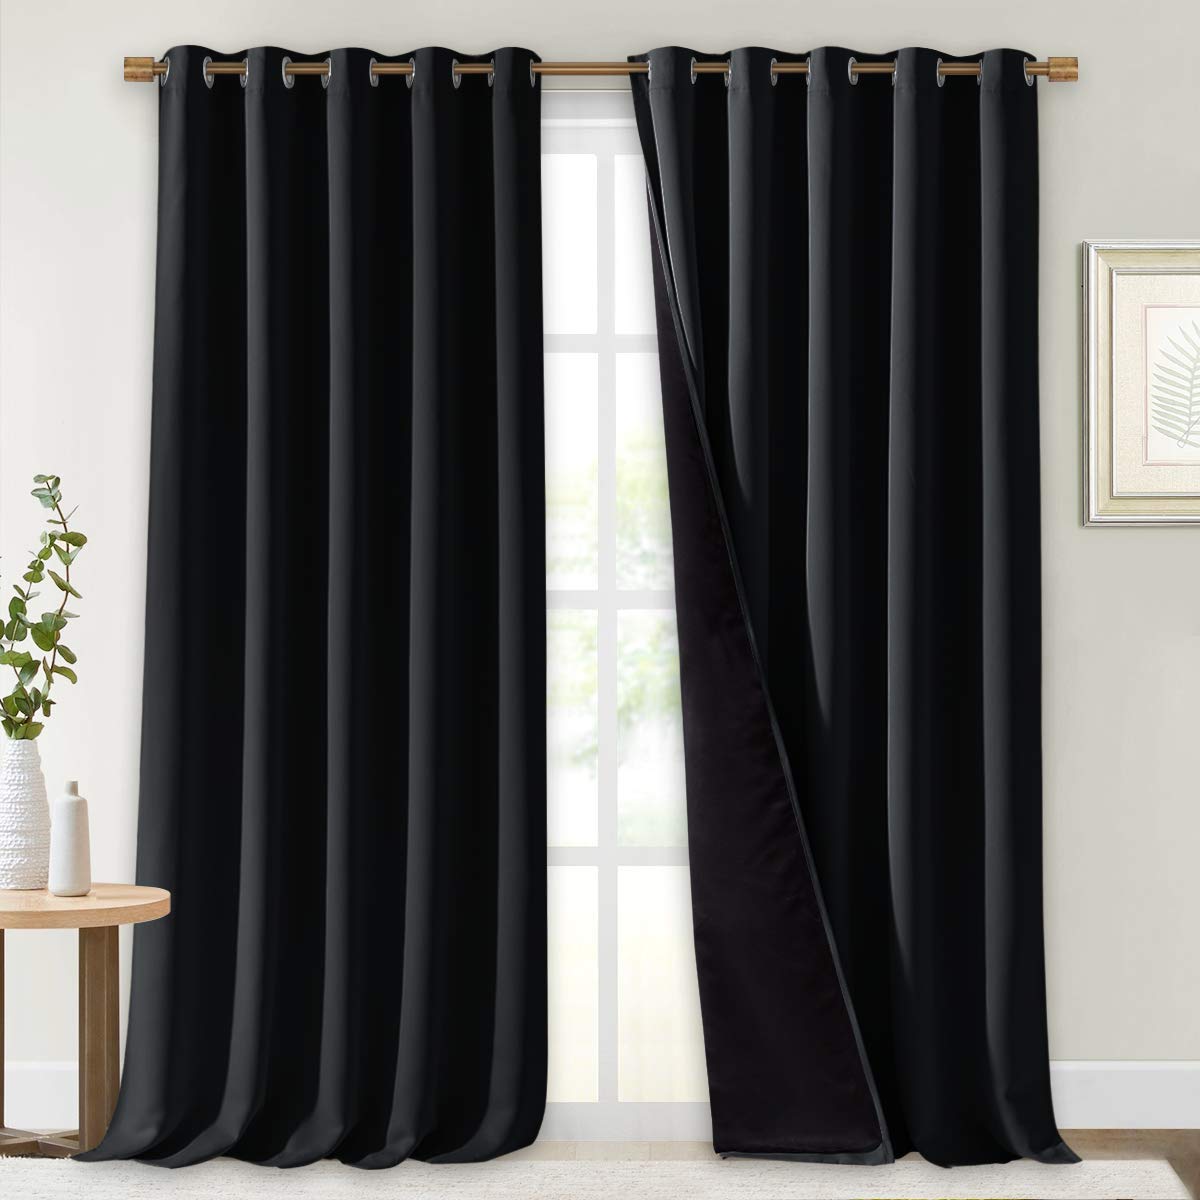 | 1x NICETOWN Blackout Curtains 70x95" - Black | $46.96 Amazon |
|
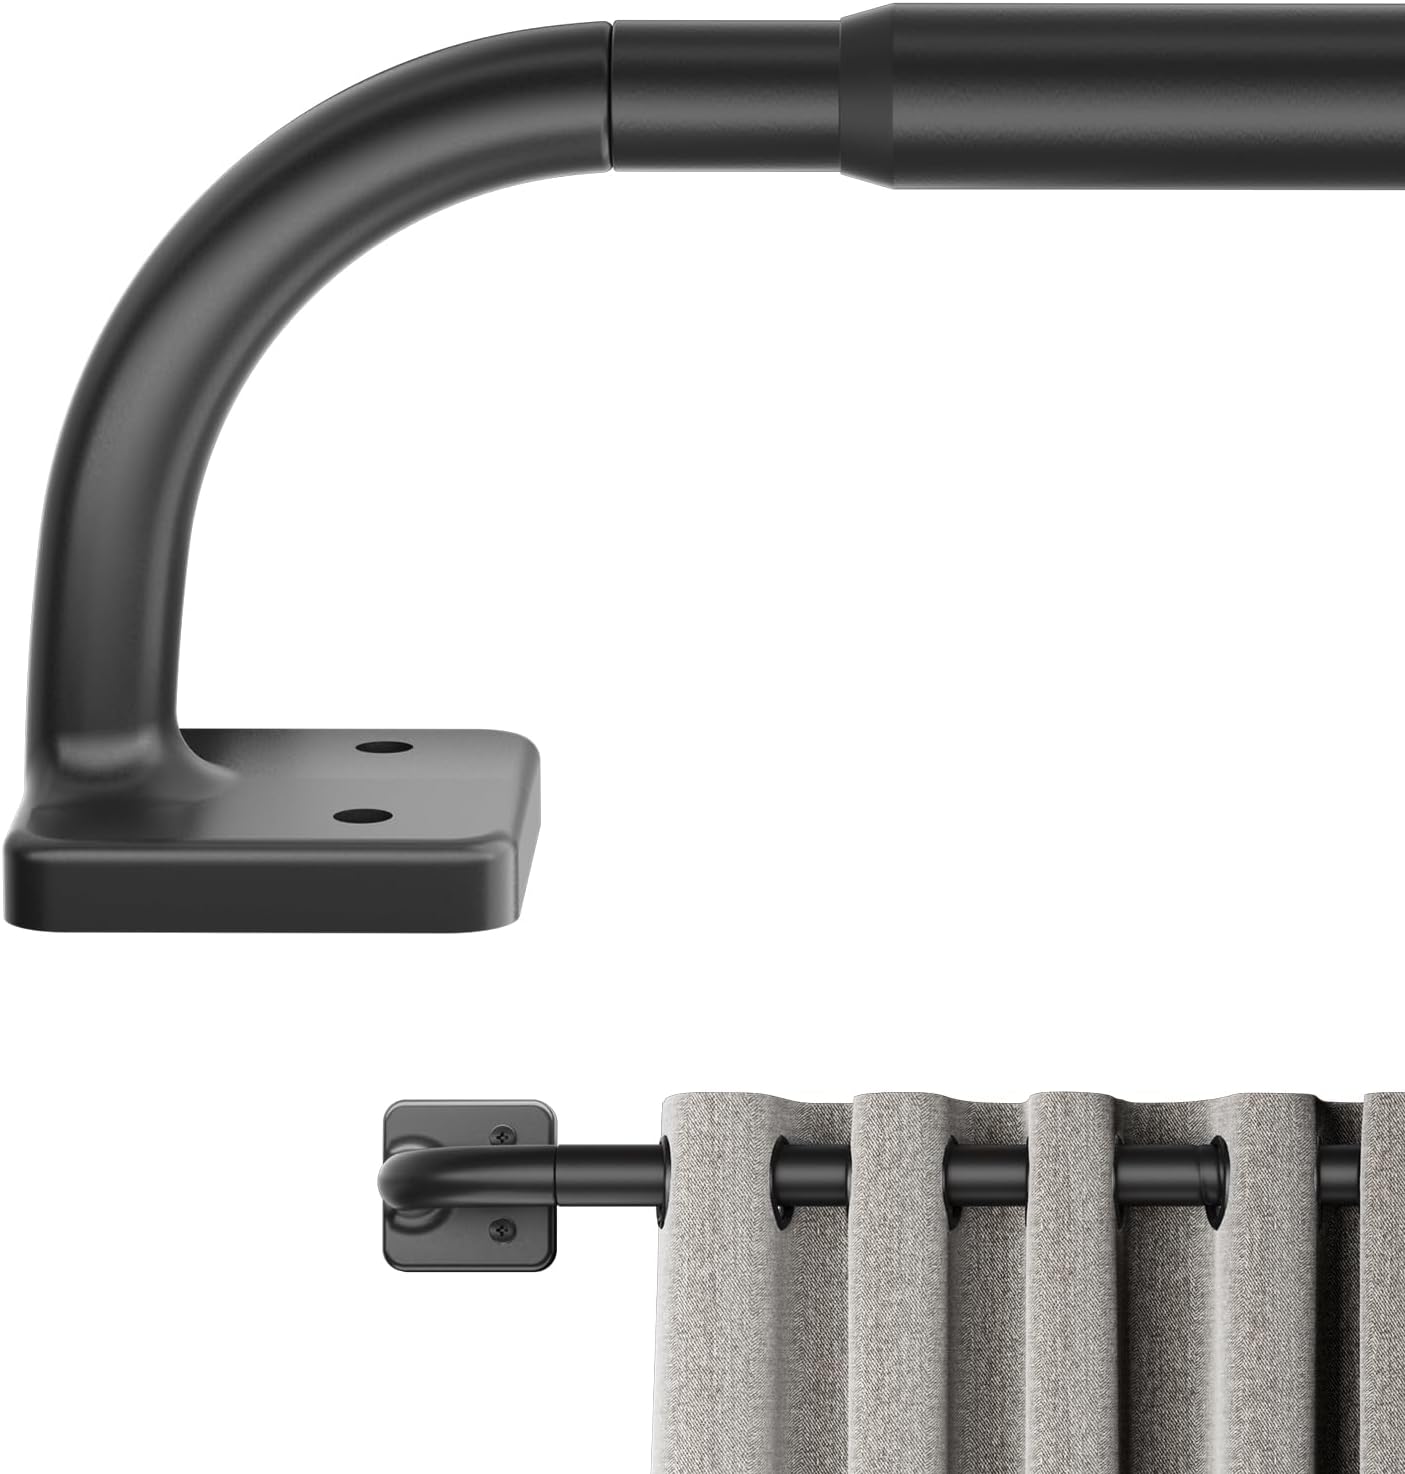 | 2x Tigpengy 5/8" Wrap Around Curtain Rod | $47.96 Amazon |
|
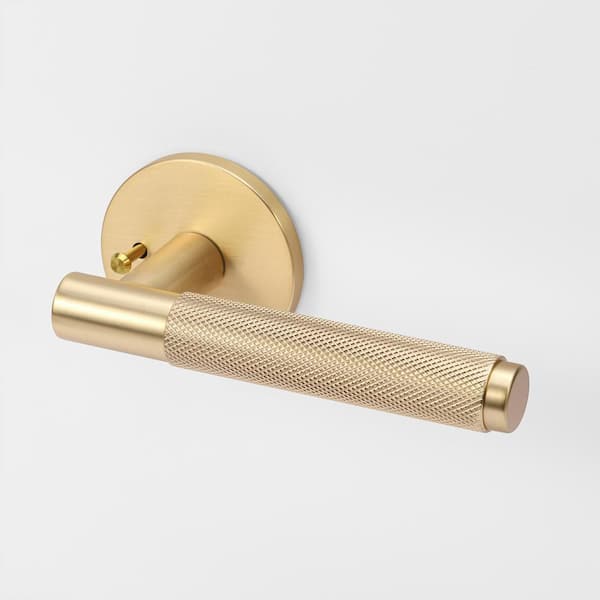 | 2x McBowery Taylor Champagne Gold Door Handle | $164.7 Home Depot |
|
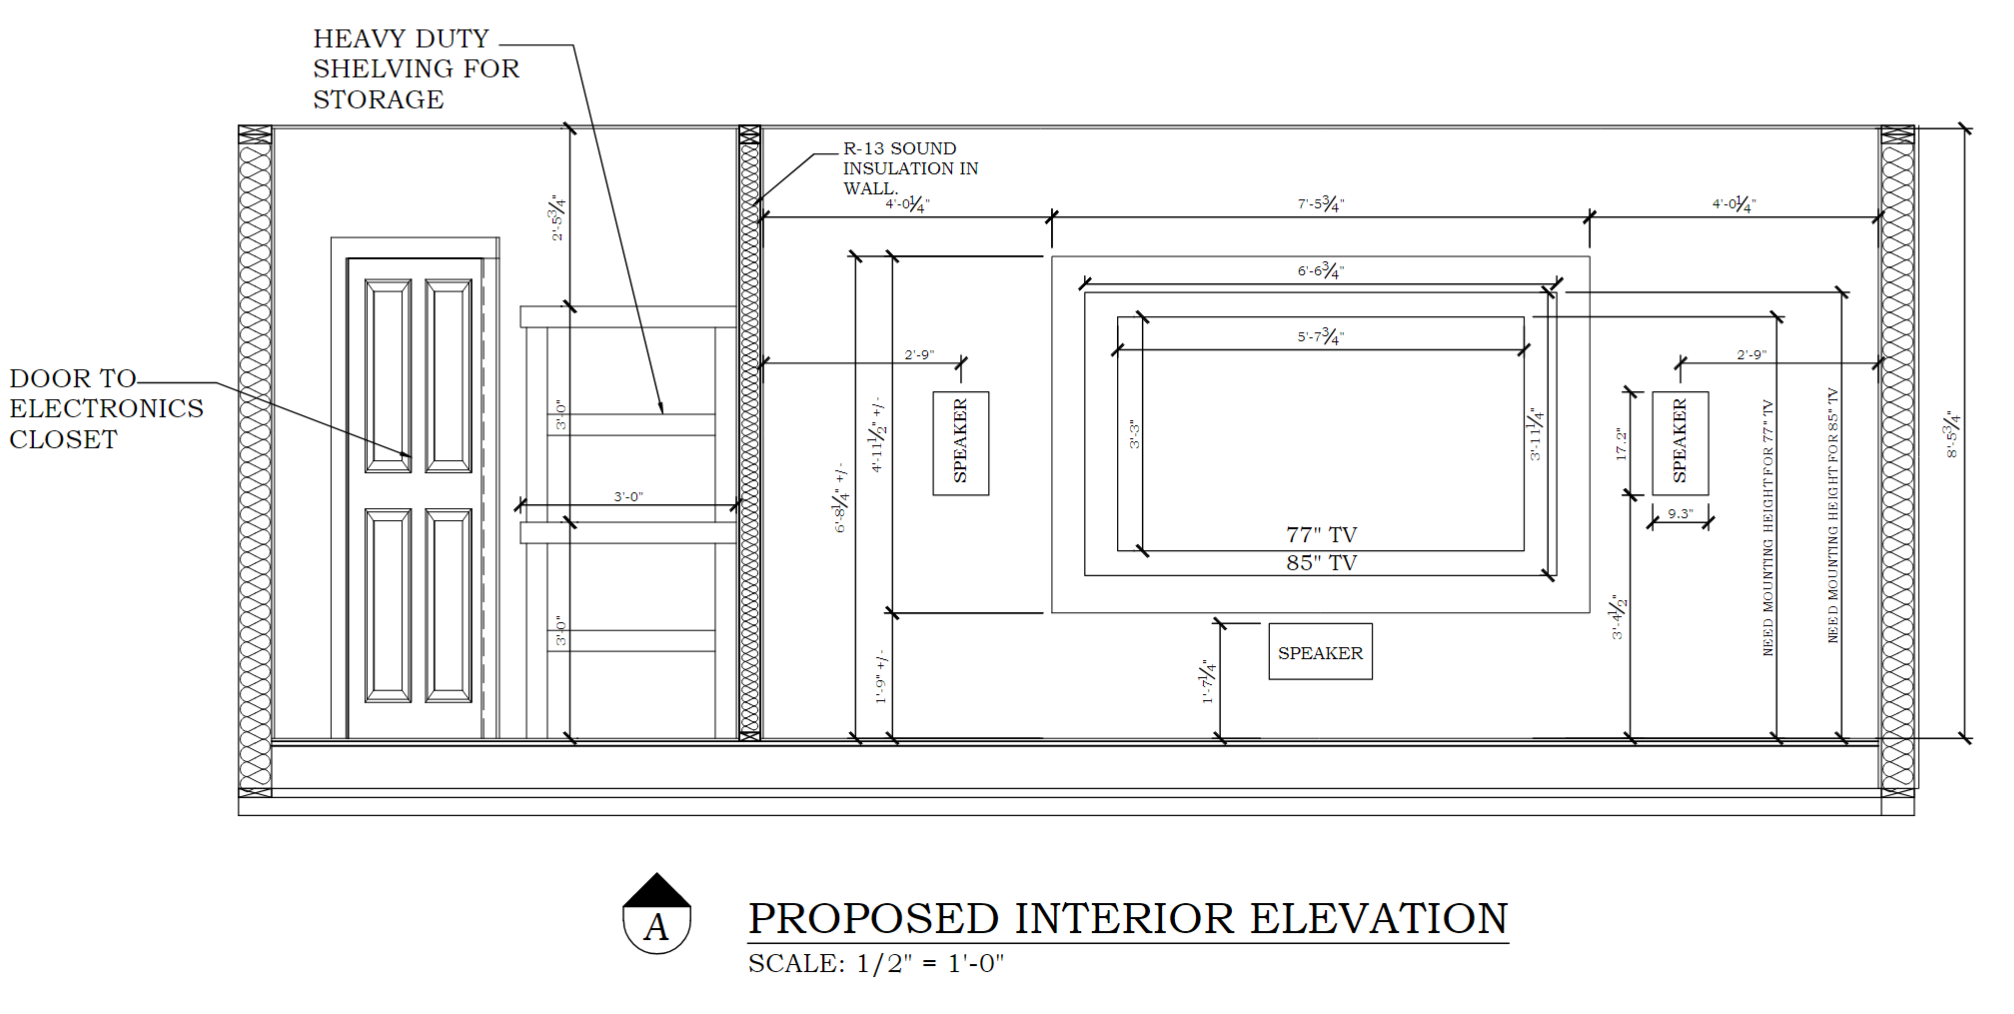
Precisely positioning elements like the lights, seating, TV, speakers was highly important. I spent hours measuring and researching to make sure everything was exactly where I wanted it to be, such as the speakers being set up according to the Dolby Atmos 5.1.2 Overhead Speakers Setup Guide.
Room
- Width is 15'6" = 186"
- Height is ~102"
Seating
- I want my head to be 87" from the TV.
- Turbo XL700 seats are 36" deep (upright).
- Head rests 10-12" from rear of upright chair.
- Head rests ~24" from front of upright chair.
- Front of seats should be 83-24=66" from speaker wall.
- Ears at 36" from floor when fully reclined.
- Ears at 41" from floor when upright.
Center Speaker LCR-650 MAX
- Bottom of cutout should be 17.65+(9.35-8.12)/2 = 18.25" from the floor.
- Cutout should be centered on the TV wall's horizontal axis.
- Tweeter at the top of the speaker.
- Product Dimensions (W x H x D) *Horizontal Orientation* 17.18 x 9.35 x 3.94 in
- Cut-Out Dimensions (W x H) 15.95 x 8.12 in
- Mounting Depth 3.66 in"
- Top of grille should be 27" from the floor.
- Bottom of grille should be 27-9.35=17.65" from the floor.
Left & Right Front Speaker LCR-650 MAX
- Bottom of cutout should be 41-(15.95/2) = 33" from the floor.
- Place each speaker as close as possible to the TV on the bumped-out wall given necessary margin due to studs.
- Right speaker's tweeter should be on the right.
- Left speaker's tweeter should be on the left.
Main Surround Speakers DW-65 PRO
- Bottom of cutout should be 50-(12.45*0.72) = 41" from the floor.
- Center of speakers should be 87+34=121"" from TV wall.
- Product Dimensions (W x H x D) 9.15 x 13.68 x 3.95 in
- Cut-Out Dimensions (W x H) 7.92 x 12.45 in
- Mounting Depth 3.66 in
- 50" from the floor to the tweeter to ensure woofer and tweeter clear top of seats when upright.
∠α = 20°
b = 186" / 2 = 93"
c = b / cos(α) = 98.96853
a = √(c^2 - b^2) = 33.84923 => 34" behind listening position
- Tweeter should be 34" (a bit less than 110 degrees) behind upright listening position.
- Tweeter is 72% from the bottom of the speaker.
Height Speakers DC-65 PRO
- Speakers should be located at the same width as the LR speakers.
- Speakers should be located 87-10=77" from front speaker wall.
Subwoofer KEF HTB2
- Power plugged into surge protected outlet at front left corner
- Theater-side subwoofer cable access plate to right of subwoofer's outlet.
TV Mount
- The bottom of the TV mount should be 41 inches off the ground, placing the bottom of the TV at 31 inches above the ground.
Outlets
- Floor outlet for recliners should be centered on the TV wall's horizontal axis and centered 94" from the TV wall.
- The floor outlet should be located 28" from the front of the chairs (66+28=94" from TV wall) to hide the outlet under the chairs.
- The box behind the TV should be located to the left of the TV mount.
- All other outlets to be installed as defined in existing plan.
- Front left outlet and outlet behind TV to be surge protected outlets.
- Other outlets must be added to meet code requirements, such as at least one outlet in the hallway.
Overhead Theater Lights - Elco Koto
- 12 modules organized into two zones: "TV/Front Zone" and "Computer/Rear Zone"
- 12 modules organized into grid: (3 lights from partition wall to window wall) by (4 lights from TV wall to back wall)
- Exact spacing may be dictated by existing joists and location of attic stairs.
Theater Sconces - Philips Hue Dymera
- Center of each sconce 66" from the floor
- Sconce 1: Toward the TV wall, as close to front window as possible
- Sconce 2: Directly opposite Sconce 1 on new partition wall
- Sconce 3: Centered between both windows
- Sconce 4: Directly opposite Sconce 3 on new partition wall
- Sconce 5: Centered on 3'4" wall opposite utility closet
- Sconce 6: Directly opposite Sconce 5 on window wall
Hallway Overhead Lights - 4" RAB
- All three lights should be 1/3 from kitchen wall partition wall.
- Light 1 should be centered to door to theater space.
- The distance between Light 1 and the utility room door should be the same distance between Light 3 and the equipment closet wall.
- Light 2 should be centered between those two lights.
Equipment Closet Light - 4" RAB
- Centered in room
Switches - Dimmers, Toggles, 3-way
- When standing inside theater room, looking at exit door: Three-gang switch set on wall at "standard" height. From left to right:
- - Computer/Rear Zone Overhead Dimmer Switch
- - TV/Front Zone Overhead Dimmer Switch
- - Sconce Power
- When standing inside equipment closet, looking at door: One-gang single-pole rocker switch set on left wall adjacent to door at "standard" height. Controls overhead light.
- When standing inside hallway, looking at door to kitchen: One-gang three-way rocker switch set on right wall adjacent to door at "standard" height. Controls hallway overhead lights."
- When standing inside hallway, looking at theater door: One-gang three-way rocker switch set on left wall adjacent to door at "standard" height. Controls hallway overhead lights.
Doors
- When looking into the equipment closet, door should have handle on right and open towards hallway.
- When looking into the theater space, door should have handle on left and open into theater space.
| Item | Total Cost | Comments | |
|---|---|---|---|
 | Installed Equipment |
| |
 | Installed Equipment |
| |
 | Installed Equipment |
| |
 | Installed Equipment |
| |
Nothing is perfect, although this room is very special. Here are a few things I'd do differently:
- The conduit terminals behind the TV are deep inside the wall, making cables very hard to pull through the tubes. I would have preferred the conduit terminals be more accessible.
I thought my single subwoofer would work nicely in the front left corner of the theater. Unfortunately, the sub in that position made the walls vibrate. Moving the sub to the center of the room just below the TV eliminated the wall vibration and decreased the amount of sound leakage outside the room.
However, moving the sub to the center of the room meant I needed to run a long power cable along the floor to reach the outlet in the corner. If I had put an outlet in the low-center of the room and added another conduit for the sub cable, the front of the theater would look much cleaner with the lights on. With the lights off, it doesn't matter.
As soon as the lights were installed, I noticed the light circuit breaker would sometimes nuisance trip under the high inrush current of turning all the theater lights on at the same time. Similarly, once the TV was installed, the TV circuit breaker would nuisance trip under the high inrush current of a bright scene on the OLED TV.
I mentioned these problems to the electrician during their final visit here, but I didn't insist on fixing the problems before they finished the job. Instead, I waited a few months before telling them the problem still existed and I wanted it fixed. Thus, the same electrician charged me a few hundred dollars to fix the problem.
Having two height speakers is great. I recently watched Into the Spider-Verse, which made excellent use of all eight speakers.
But...only having two speakers above me can make some sounds feel two-dimensional, when what I'm looking for is to be enveloped in sound from all directions. To achieve that, I should have bought two more height channels for a 5.1.4 system.
Nothing is done until we call it finished. Here's what I'd like to do when I make the time and energy:
- Sound treatment is just as important as speaker choice, and the theater room is not treated intentionally. Higher frequencies like laughter and claps echo annoyingly. I'd like to add some wall panels and corner insulation to deaden the echoes.
- The theater hallway is too bare. It needs some artwork on the walls!
- The TV sometimes flickers when viewing content from my PC. I suspect eARC issues, but have no way of troubleshooting. I'd like to figure that out.

Support me on Patreon for $3 to download exclusive full-resolution photographs and get notified when I publish work like this.
Thank you for your support!
Architectural Designs | $2,471.00 |
|---|---|
Electrical Work Pre-Theater | $4,073.00 Some part of this cost was to fix electrical issues with our kitchen; it's impossible to say how much. |
Total Paid to General Contractor | $46,977.83 Includes permit costs, framing, siding, insulation, electrical, drywall, HVAC, new water heater, carpentry, painting, and equipment installation. |
Lighting Equipment | $2,327.96 |
Audio, Video, & Power | $4,838.72 |
Wall Accessories | $711.26 |
Carpet & Furniture | $4,257.61 |
Grand Total | $65,657.38 |
2024-07-03 | Purchased home in DE (still lived in NYC) |
|---|---|
2024-10-15 | Created initial theater sketches |
2025-01-18 | Reached out to three DE architecture firms; One of these referred me to a fourth designer who could start work quickly. |
2025-03-03 | First design consultation with selected architectural designer, SLC Designs |
2025-03-17 | Received version 1 of schematics from designer |
2025-03-20 | Consulted with Crutchfield for AV system design |
2025-04-14 | Received version 2 of schematics from designer |
2025-04-22 | Received final version of schematics from designer 50 days from first consultation to final designs |
2025-04-27 | Submitted schematics to HOA Architectural Review Committee for home modification approval Also moved from NYC to Delaware! |
2025-04-30 | Received HOA approval to begin project Reached out to five General Contractors for timeline and pricing information I only received a final estimate from one of these five firms. One of them seemed interested and came over for measurements but then stopped returning my calls, one of them was interested but unavailable for several months, and two of them never returned my calls/emails. |
2025-05-23 | Lighting consultation at Denney Electric Supply |
2025-05-29 | Electrician installed subpanel in garage This pre-theater project tackled three issues: A new subpanel for easier theater electrical work in the future, new circuits for kitchen appliances that weren't getting enough power, and a new 60A circuit for a Level 2 electric car charger. |
2025-05-30 | Lighting equipment ordered |
2025-06-09 | Signed a Construction Agreement with our selected General Contractor, DMF Builders This took 40 days because I kept waiting to hear from other GCs. Durwood returned my outreach email on April 30, the same day I sent it. He then sent an estimate after only two weeks. |
2025-06-11 | Building permit request submitted to Sussex County Permits were to be approved and paid before construction could begin |
2025-06-25 | Building permit issued by Sussex County This took 15 days. |
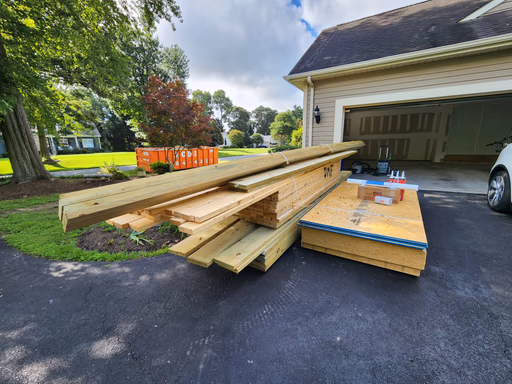
2025-07-03 | Rolloff waste container and portable toilet delivered |
2025-07-07 | Framing materials delivered |
2025-07-08 | Framing day 1/2 Carpet selected |
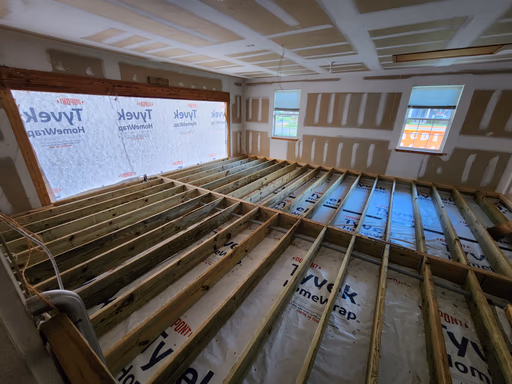
2025-07-09 | New floor insulation installed |
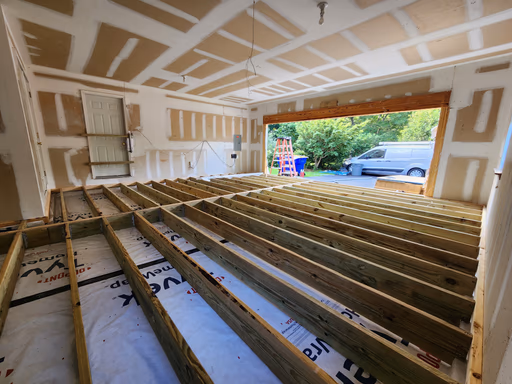
2025-07-10 | Framing day 2/2 Garage door removed |
2025-07-11 | Lighting equipment box 1/2 delivered |
2025-07-14 | HVAC consultation day 1/2 Carpet measuring |
2025-07-15 | Siding delivered |
2025-07-17 | HVAC consulation day 2/2 |
2025-07-22 | Siding installed |
2025-08-04 | Electrician working day 1/4 Lighting equipment box 2/2 delivered 66 days elapsed between ordering the Koto lights and receiving them. |
2025-08-11 | Walls and ceiling insulated HVAC and new water heater installation, day 1/6 |
2025-08-12 | HVAC and new water heater installation, day 2/6 Drywall supplies dropped off |
2025-08-13 | Drywall hanging, day 1/3 HVAC inspection |
2025-08-13 | Drywall hanging, mud, and tape, day 2/3 HVAC and new water heater installation, day 3/6 |
2025-08-18 | Painter consultation HVAC installation, day 4/6 Drywall hanging, mud, and tape, day 3/3 Drywall work spanned 5 days |
2025-08-19 | Doors and trim delivered |
2025-08-21 | Carpenter installs trim and shelving HVAC installation, day 5/6 |
2025-08-22 | Painters working, day 1/4 |
2025-08-25 | Painters working, day 2/4 |
2025-08-26 | Painters working, day 3/4 Electrician working day 2/4 |
2025-08-27 | HVAC insulation complete Electrician working day 3/4 Painters working, day 4/4 Paint work spanned 5 days |
2025-08-28 | Electrical inspection complete Plumbers add water heater ventilation Carpet installed HVAC installation, day 6/6 HVAC installation spanned 17 days |
2025-08-29 | Sussex County Building Inspection complete |
2025-09-02 | Electrician working day 4/4 Electrical wiring and equipment installation spanned 30 days |
2025-09-03 | All equipment installed; home theater can be used! 86 days since signing the construction agreement 10 months 2 weeks since initial sketches 26 years since the dream began |